How a $20 Upgrade Changed My iPad Photo Workflow.
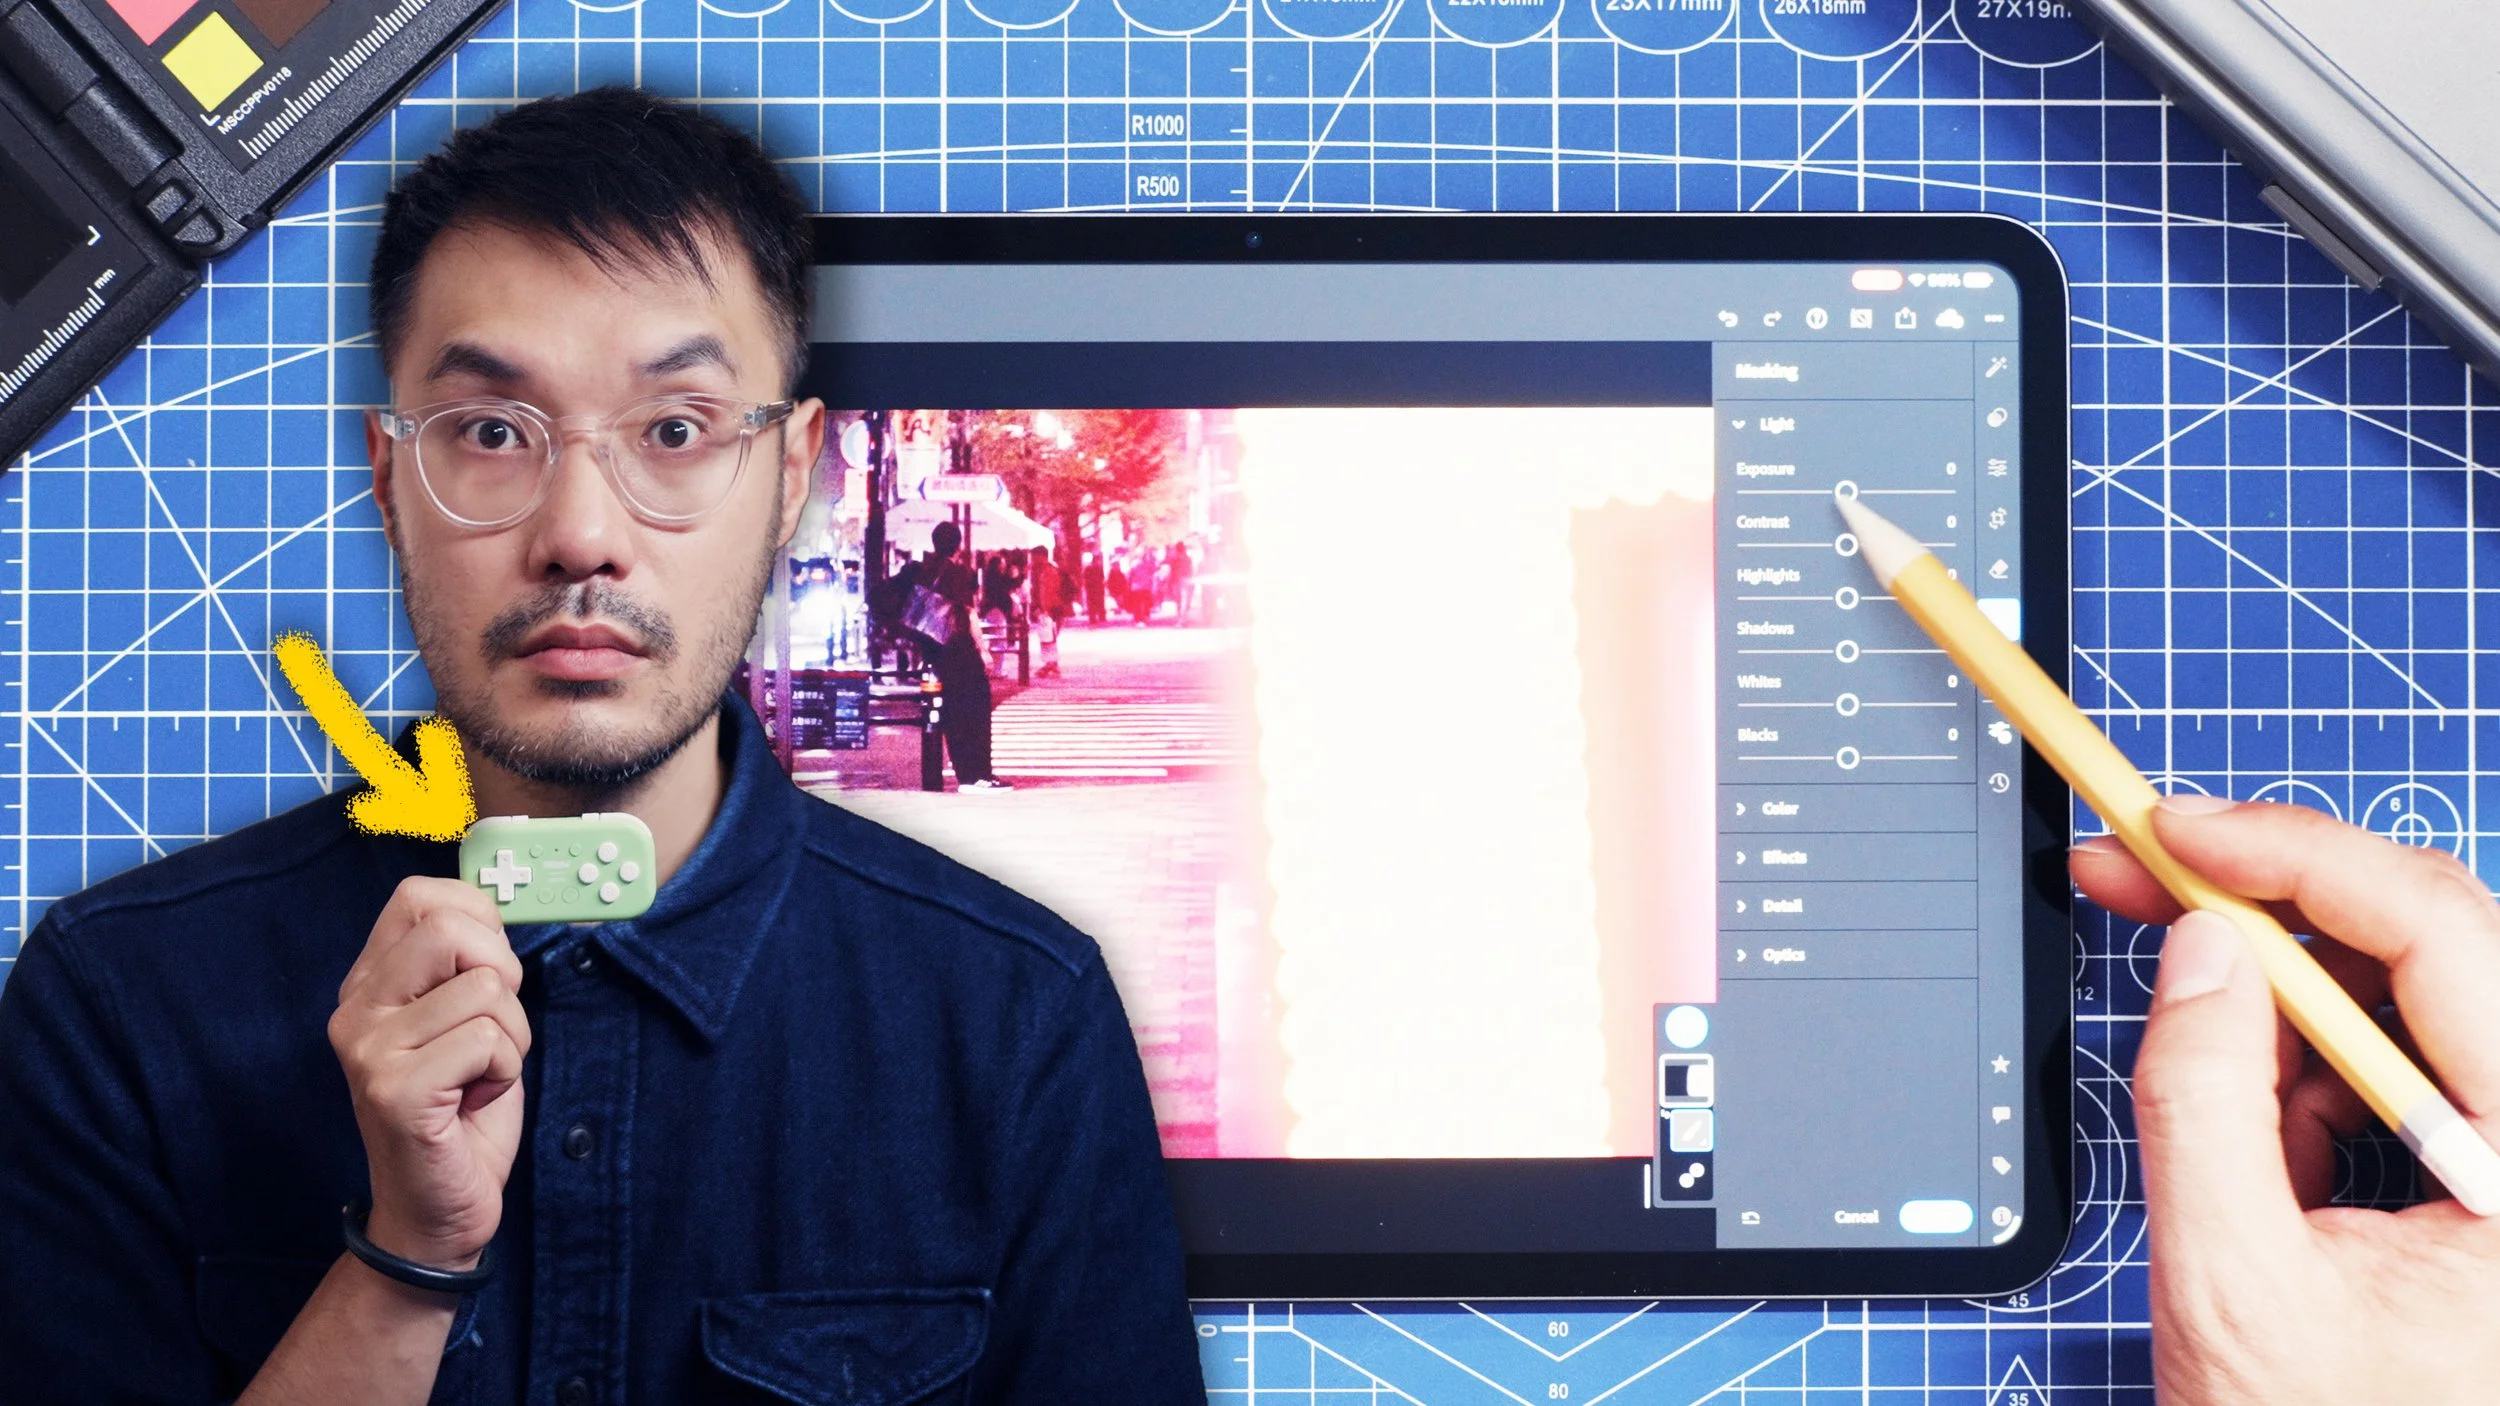
How did I finish editing an entire Japan trip’s photos before I stepped on the flight back home?
An iPad, Lightroom Mobile, and a $20 gamepad.
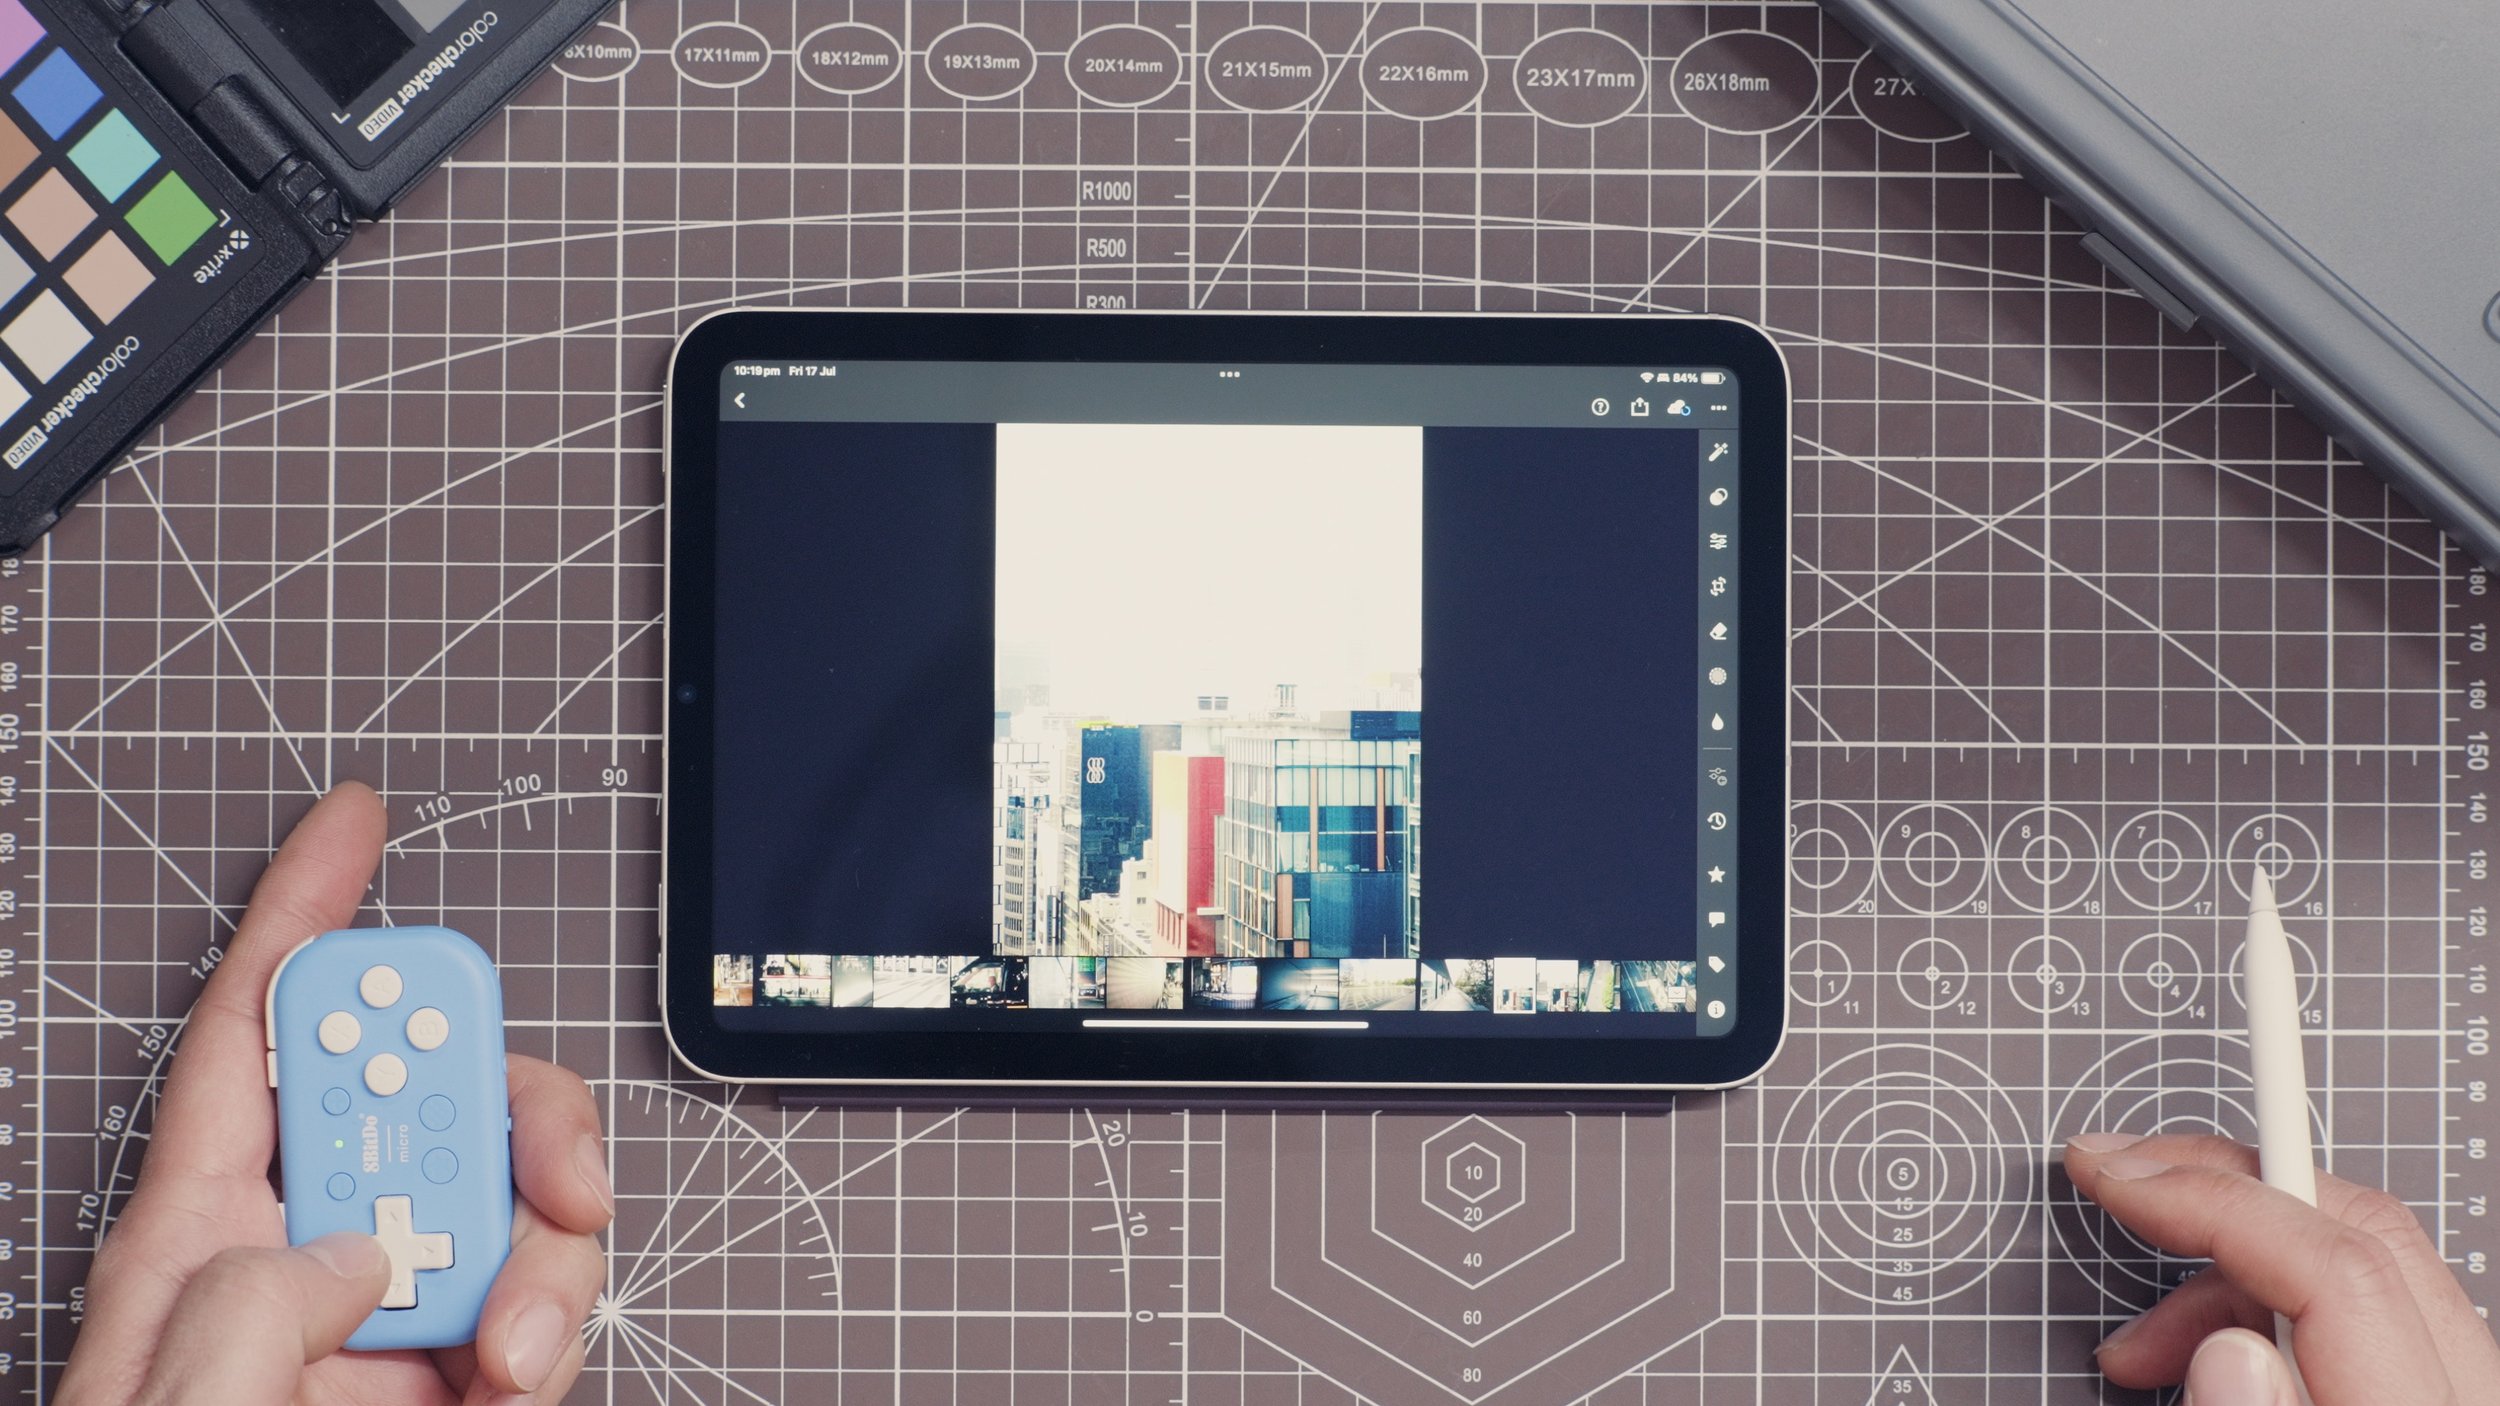
I’ve always preferred Lightroom Classic on desktop, but this setup sped up my edit more than I was expecting?
Whether this works for you will depend on how complex your edits tend to be, which iPad model you prefer, and what iPad accessories you already own.

Is this gamepad good enough to replace them all?
Culling
My normal editing workflow on desktop is nothing special. Import raw files directly into Lightroom classic on my Mac Studio. I apply my Chrome emulation preset on import, then start culling:
1 star for keepers (“1”)
Reject shots I don’t like, or where I missed focus (“X”).
Apply a filter for 1 star photos, then go through every shot again. If any stand out give those photos 2 stars (“2”)
Apply a filter for 2 star photos, then take it to the Develop tab (“E”) to finish the edit

It’s a simple enough workflow to build up basic muscle memory quickly, but I tend to get distracted if there’s more than a thousand photos to go through.
Culling photos feels different on an iPad. To me it feels a little less serious, more fun and casual. Maybe that’s why it goes by so quickly, especially when paired with this 8bitdo Micro.
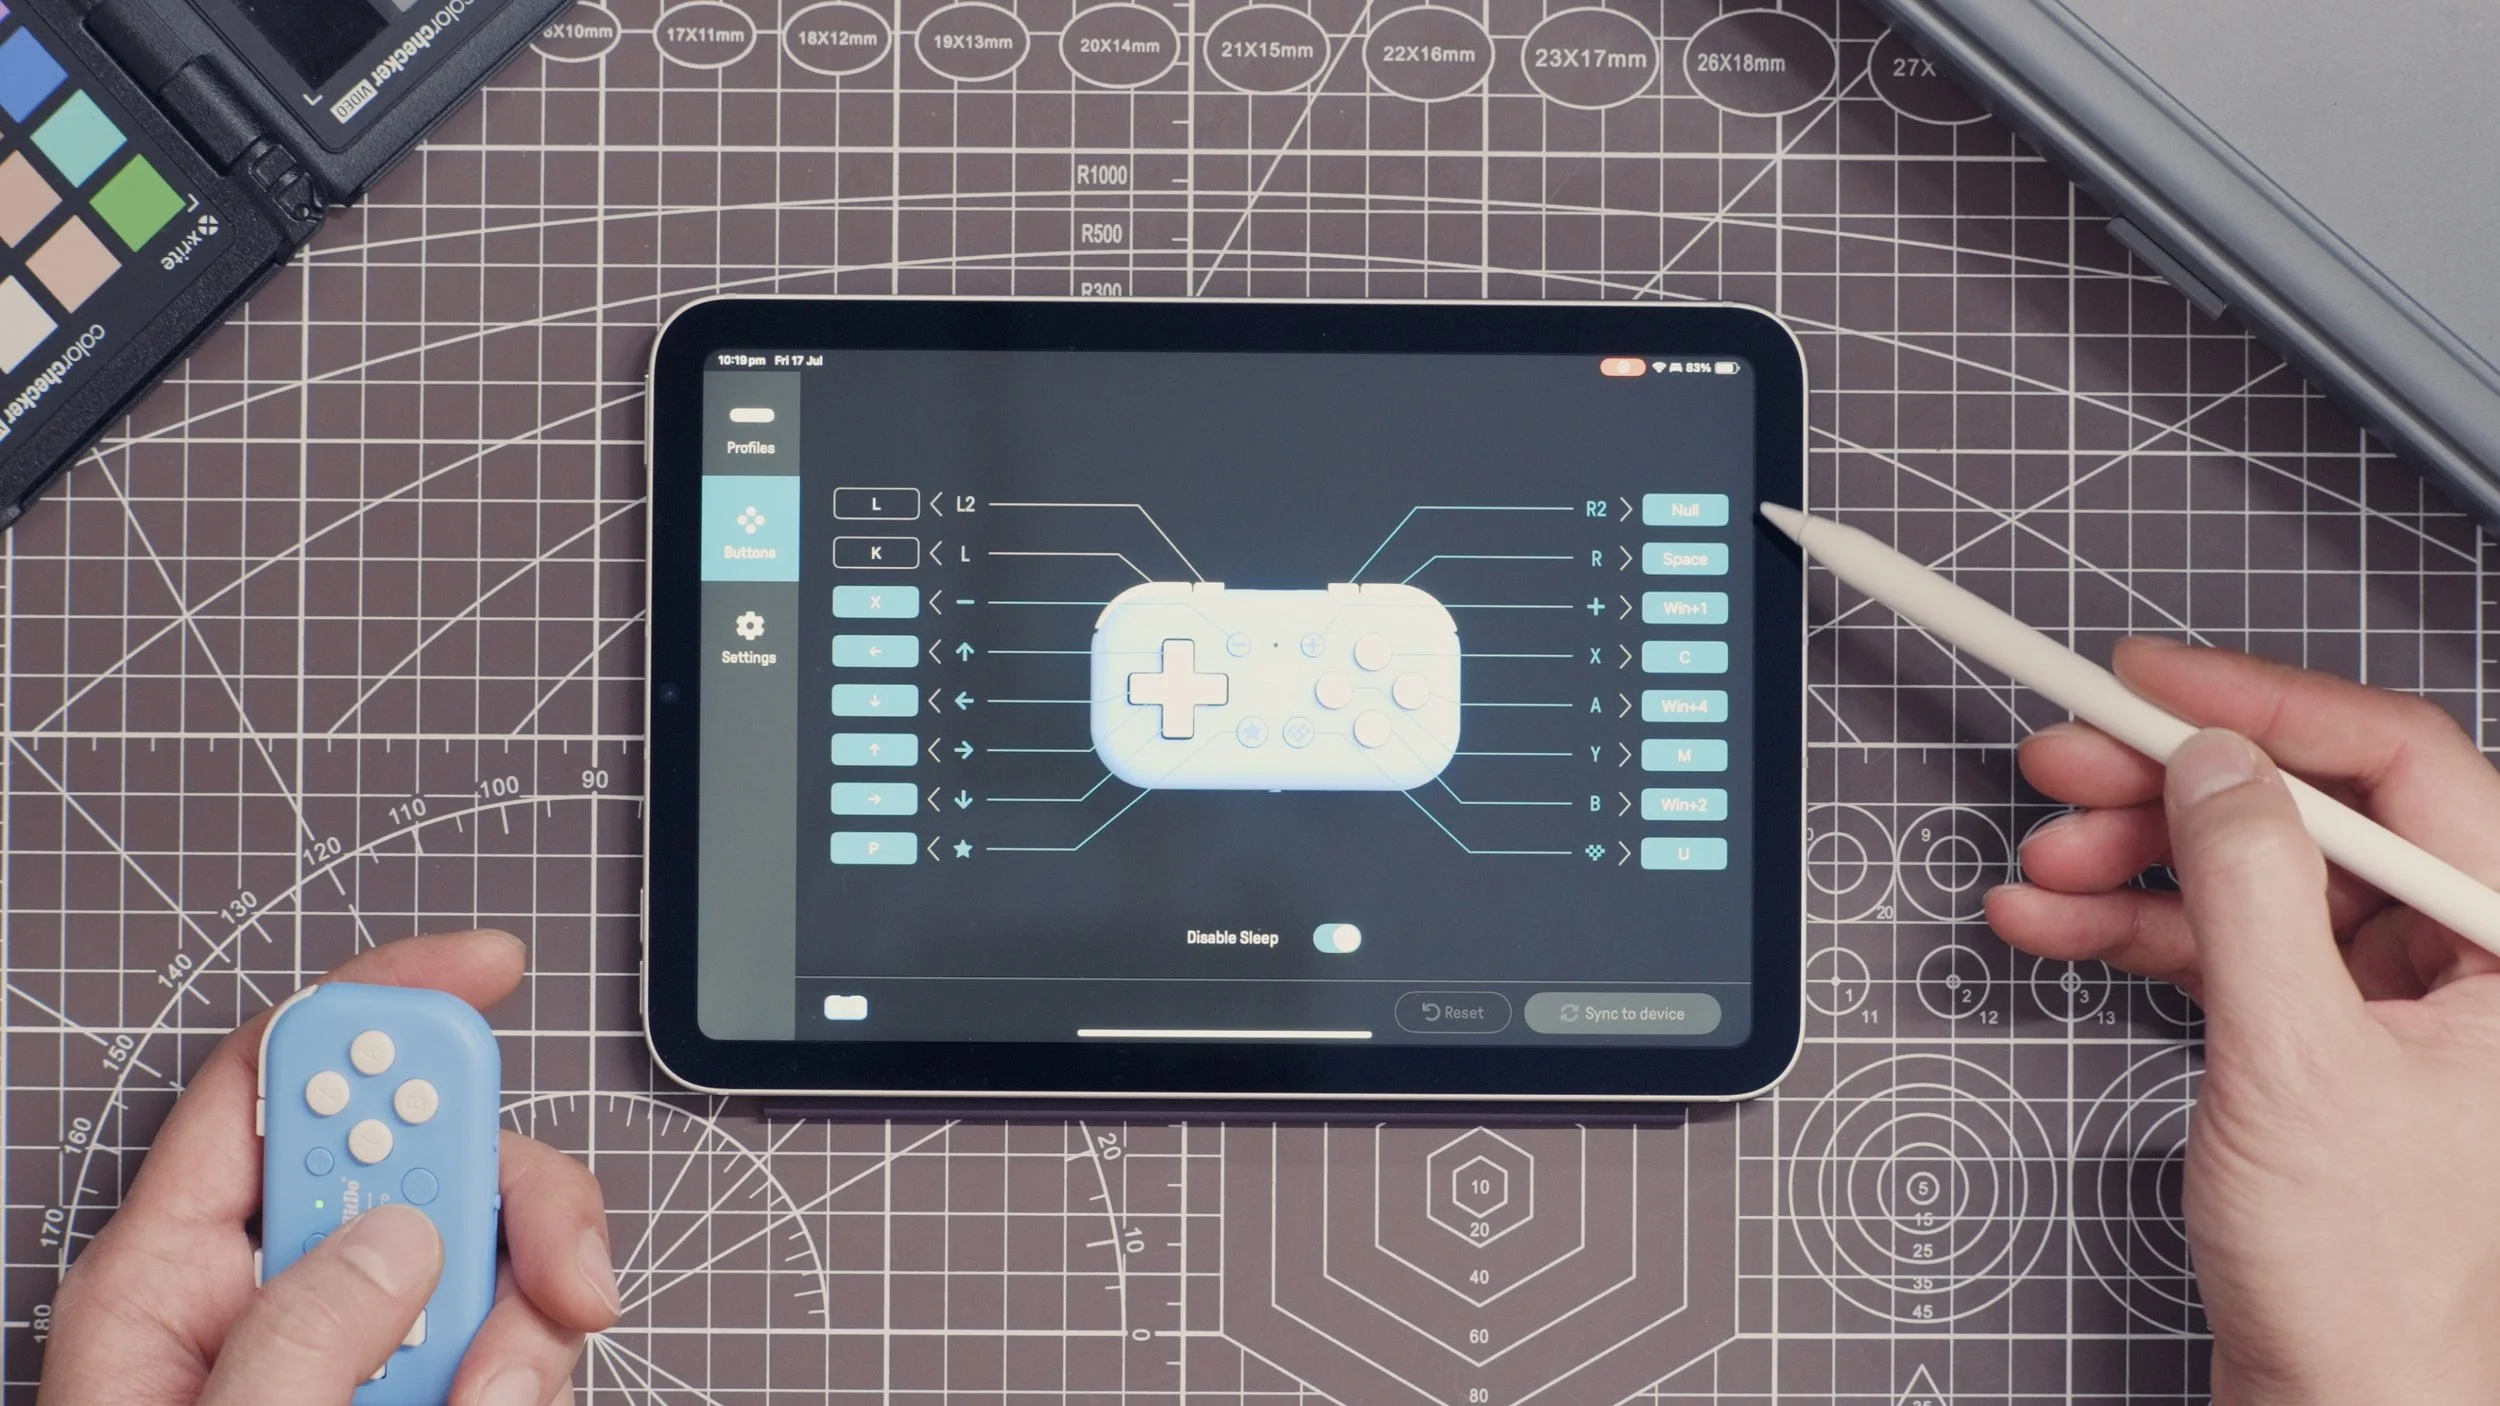
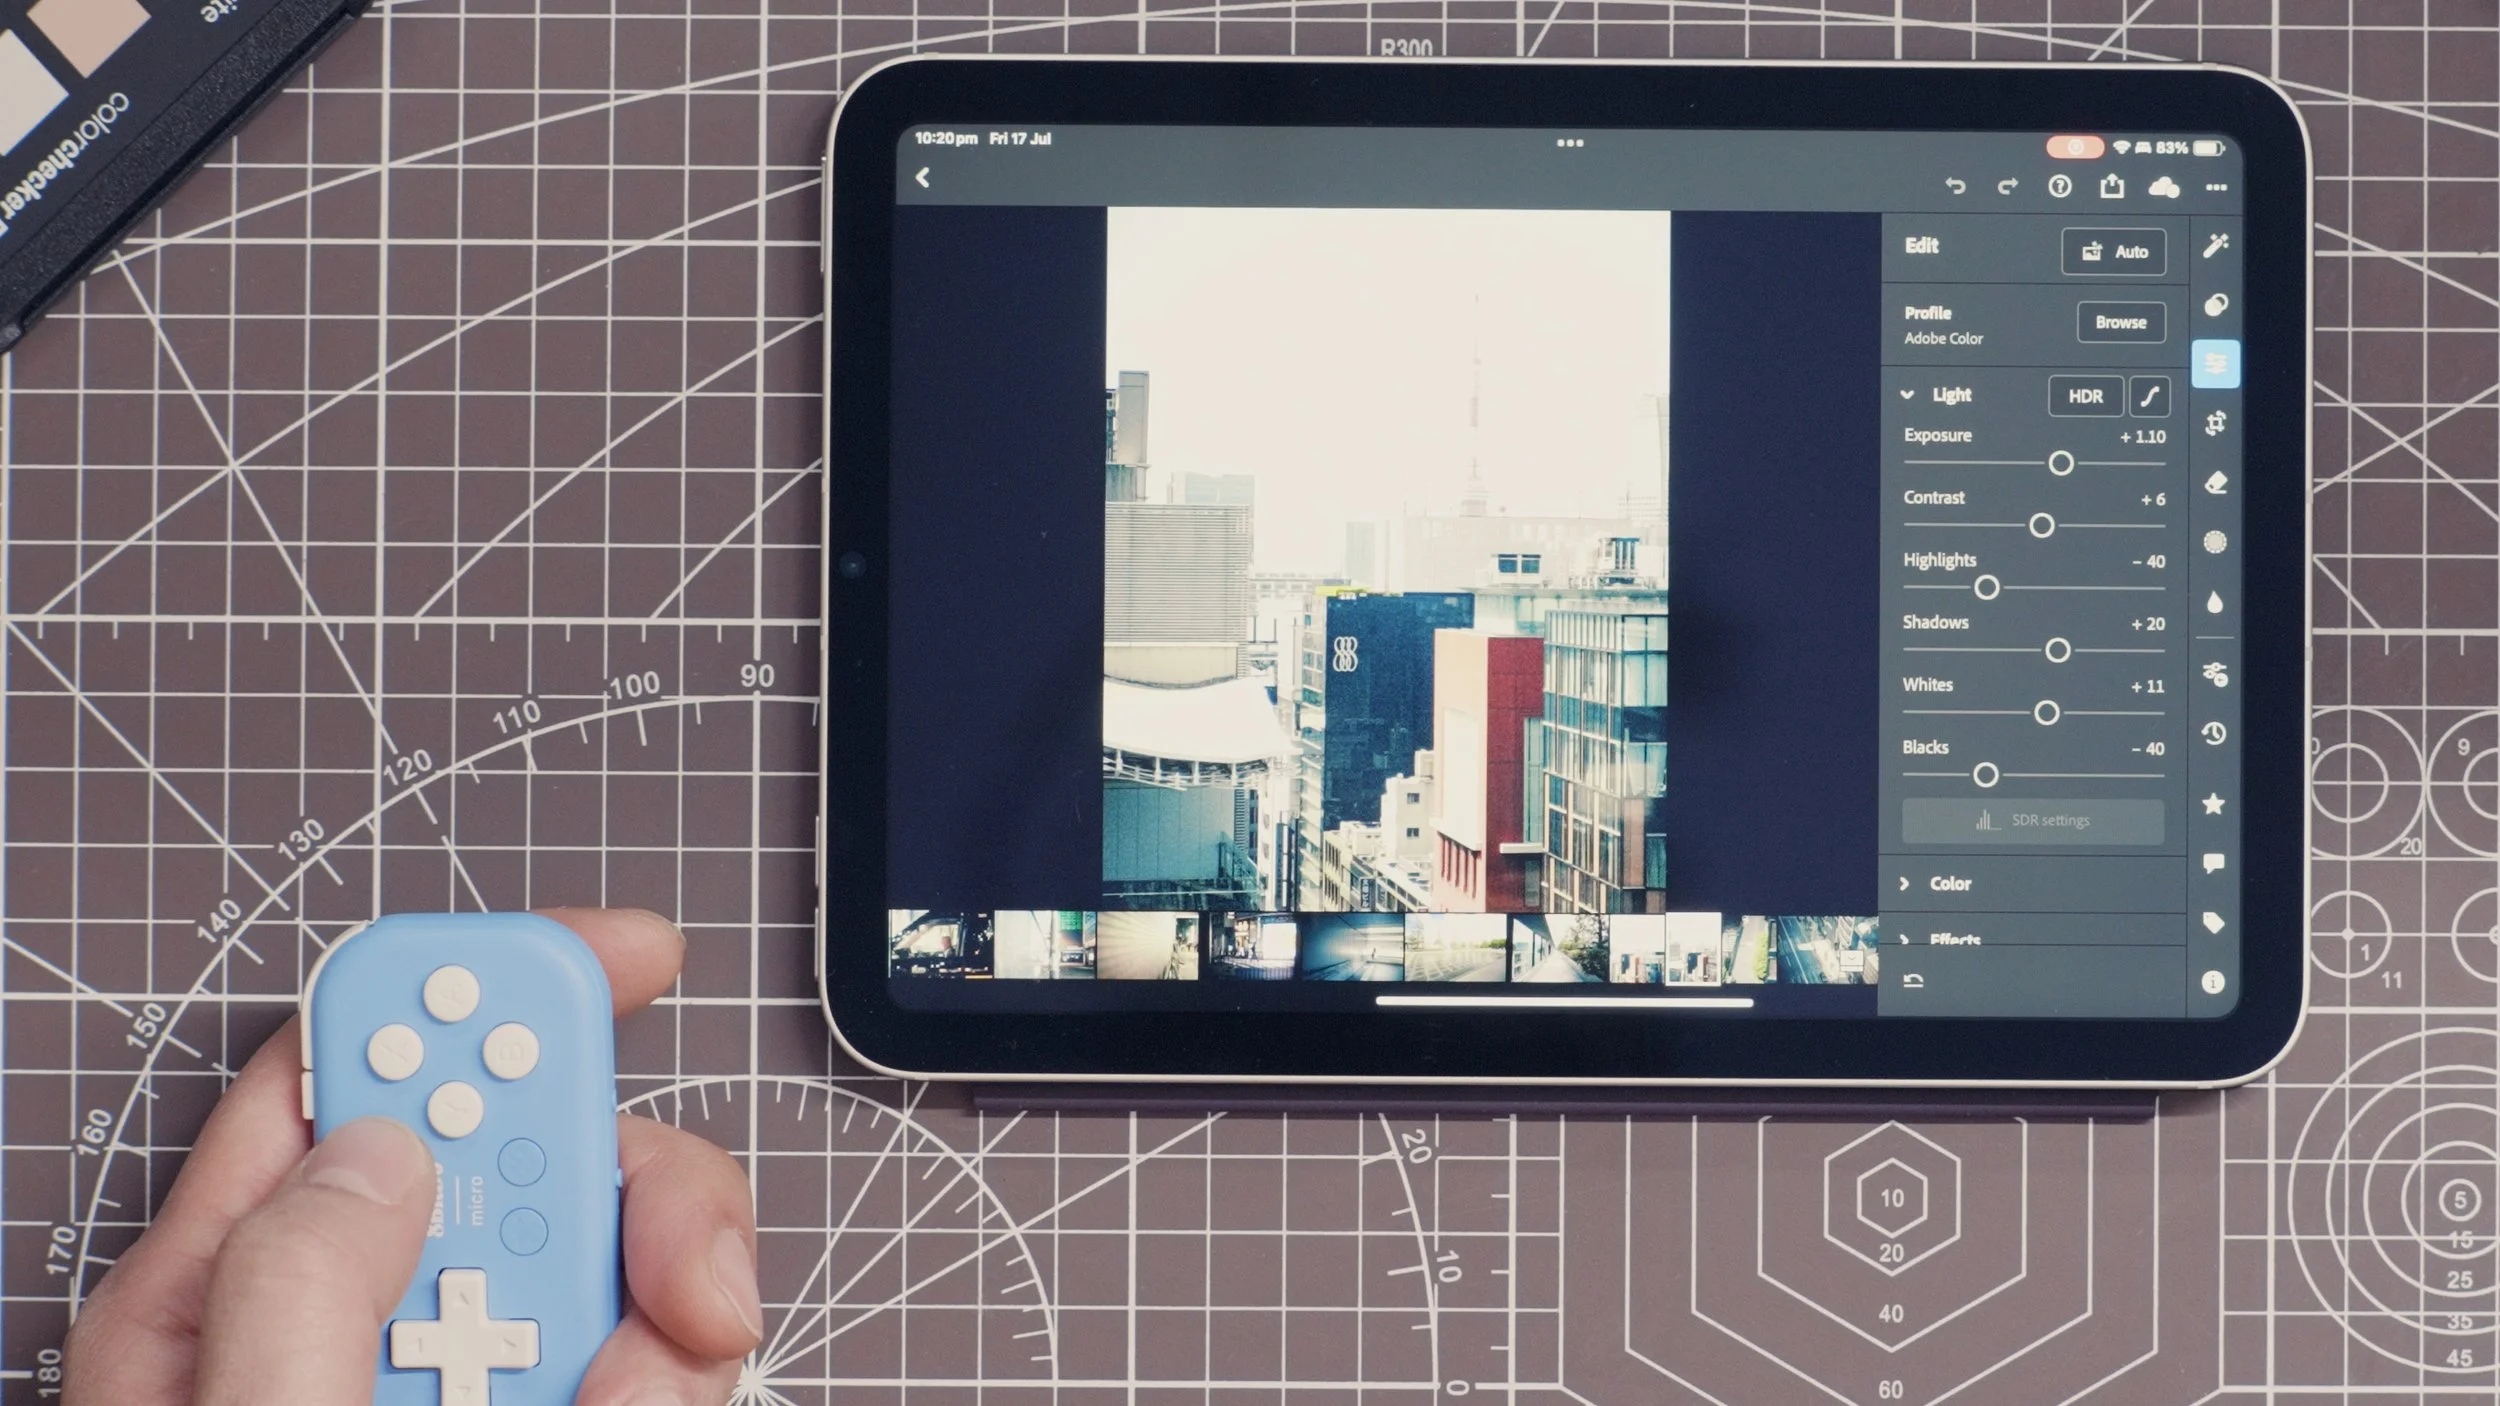
Using the free 8bit do App you can reprogram up to 12 keyboard shortcuts (not counting the D-pad). This is how I sped up my Lightroom Mobile workflow, which is otherwise too reliant on the touchscreen and scrolling through edit sub panels.
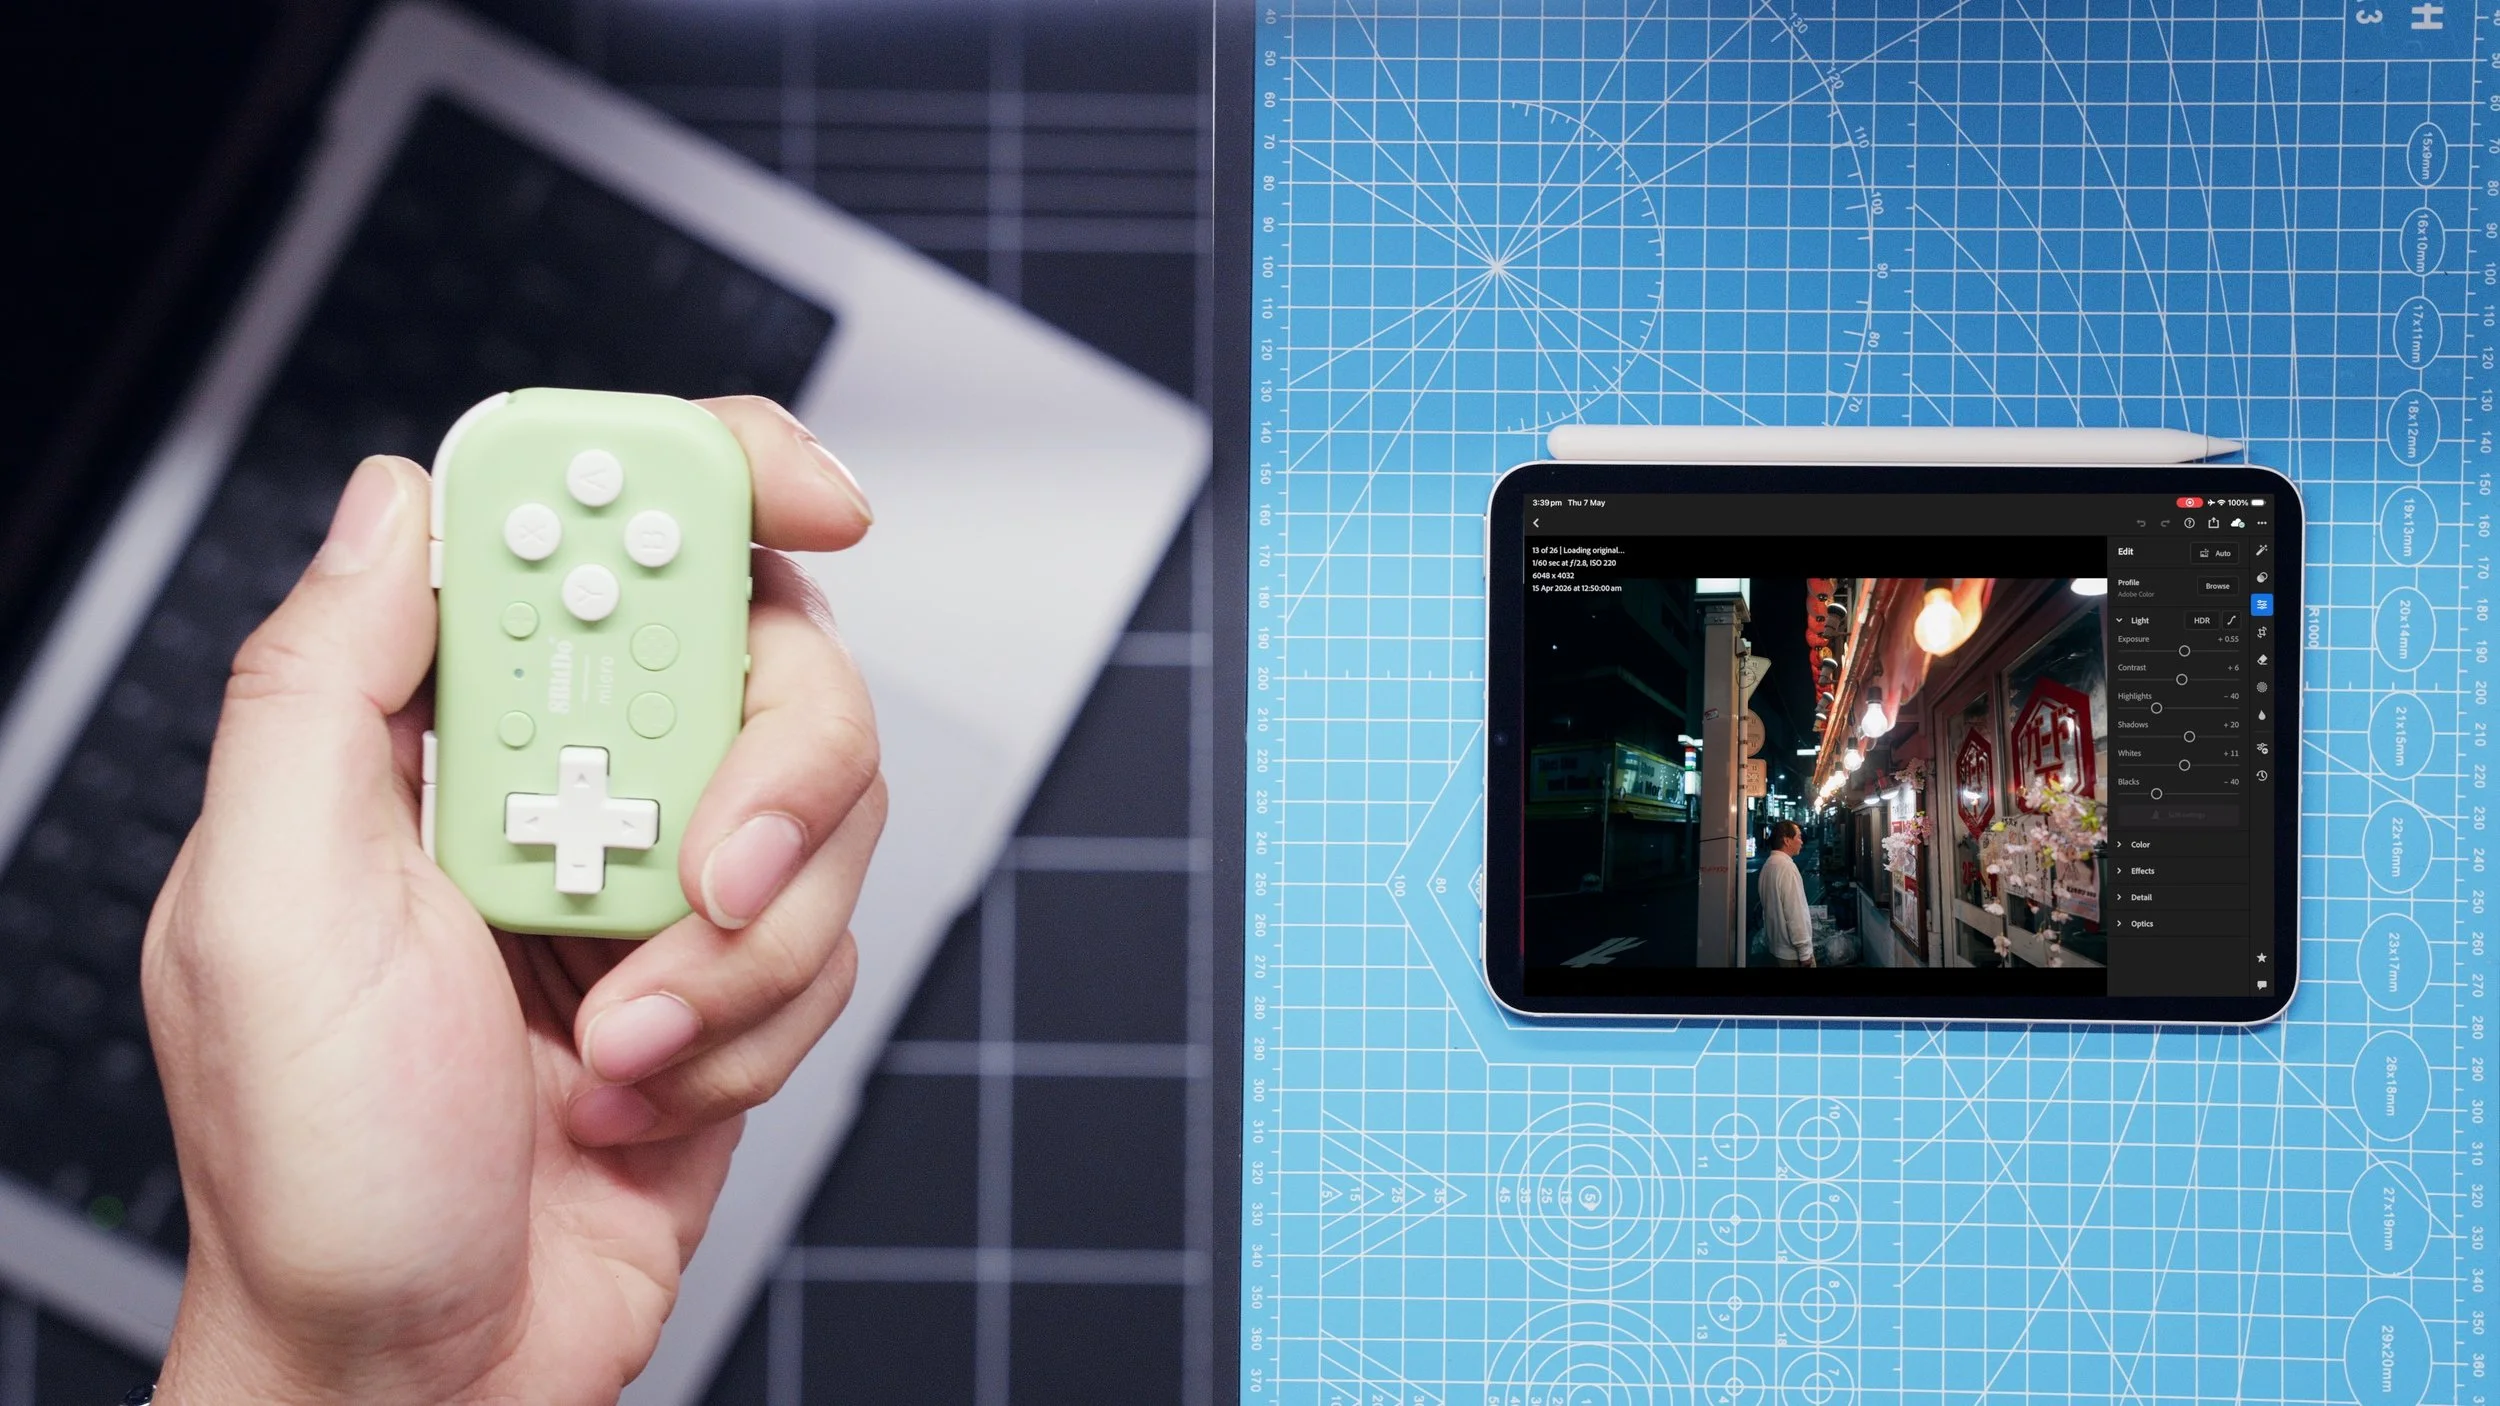
It comes in green too.
Is the 8BitDo Micro For You?
It is an extra thing to charge and carry while travelling, and depending on your editing workflow it might not be for you. Look at the history tab in Lightroom for your last 10, 20, 100 photos…
Are there 8-9 edit actions you make across every photo?
Do any of them have a dedicated keyboard shortcut in Lightroom Mobile?
Do you already use an Apple Pencil alongside your iPad?
If you answered yes to all three questions then the 8bitDo Micro might work for you.
My Lightroom iPad Shortcuts:

Flag (P): to rate keepers, simpler than the numbered ranking system I use on desktop
Unflag (U): in case I accidentally flagged the wrong photo
Reject (X): photos I don’t want to keep
Crop (C): on the latest version of Lightroom iPad this is bundled together with geometry; I can straighten the horizon and crop the photo on the same sub panel.
Light (Command + 1): exposure, contrast, highlight, shadows
Zoom (Space bar): punch in or out to check critical focus.
Details (Command + 4): I use this for Noise reduction, especially while I’m punched in
Colour (Command + 2): white balance, tint, colour grading wheels (I like cooler shadows, warmer highlights)
Masking (M): create your own mask using the Apple Pencil to control the brush, or use one of Lightroom’s masking presets (linear gradient, radial gradient, subject detection)
I try to embed as many existing edits as possible to my Lightroom preset upon import, all these shortcuts represent minor tweaks to that preset rather than wholesale changes from scratch.
I program them to these buttons on the 8BitDo Micro:
If all these shortcuts rely on the keyboard however, isn’t the Magic Keyboard a better choice than a separate bluetooth controller?
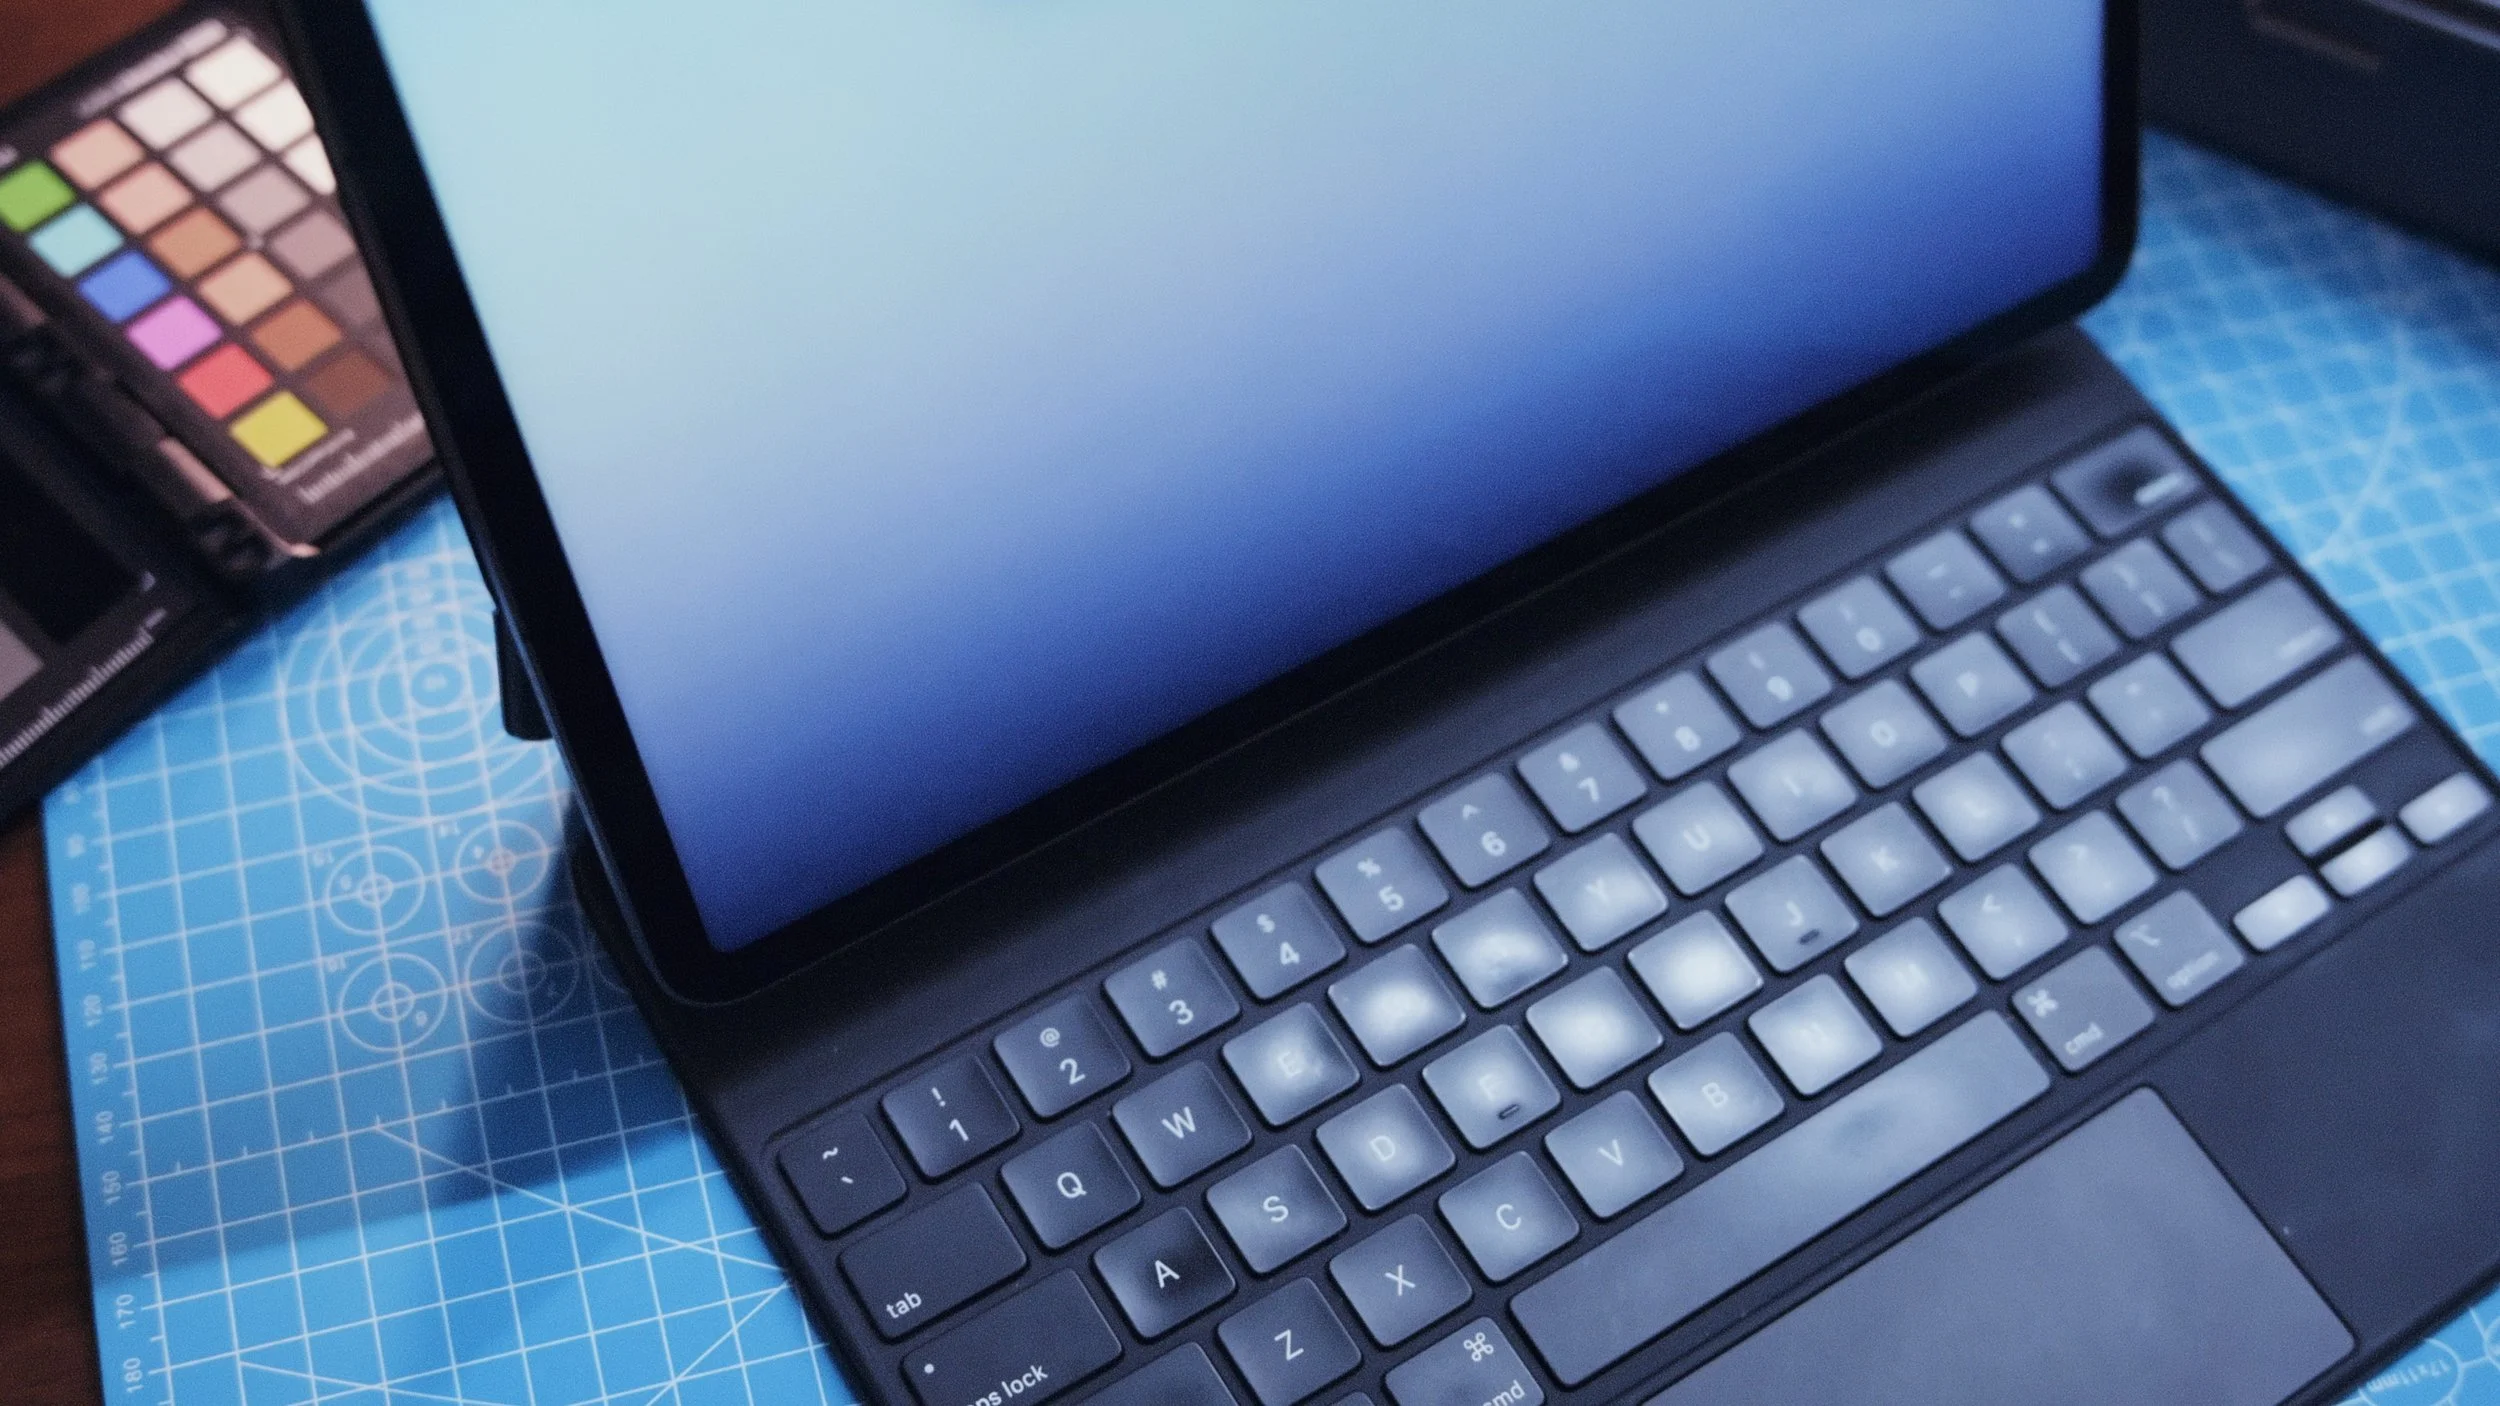
The Magic Keyboard is really well made, but the layout of keys is still cramped compared to a full laptop keyboard. Single key presses are fine, but multiple keys for a single shortcut (e.g. Command + 1 to open the light sub panel) are harder to execute consistently on this smaller keyboard.
Using the 8bitDo Micro D-Pad to navigate and cull photos, open up one edit-sub panel at a time.
Then use the Apple Pencil, which doesn’t have to tap or scroll to the right sub menu. All it has to do is drag the sliders already visible on the panel opened by the 8BitDo Micro’s button press.
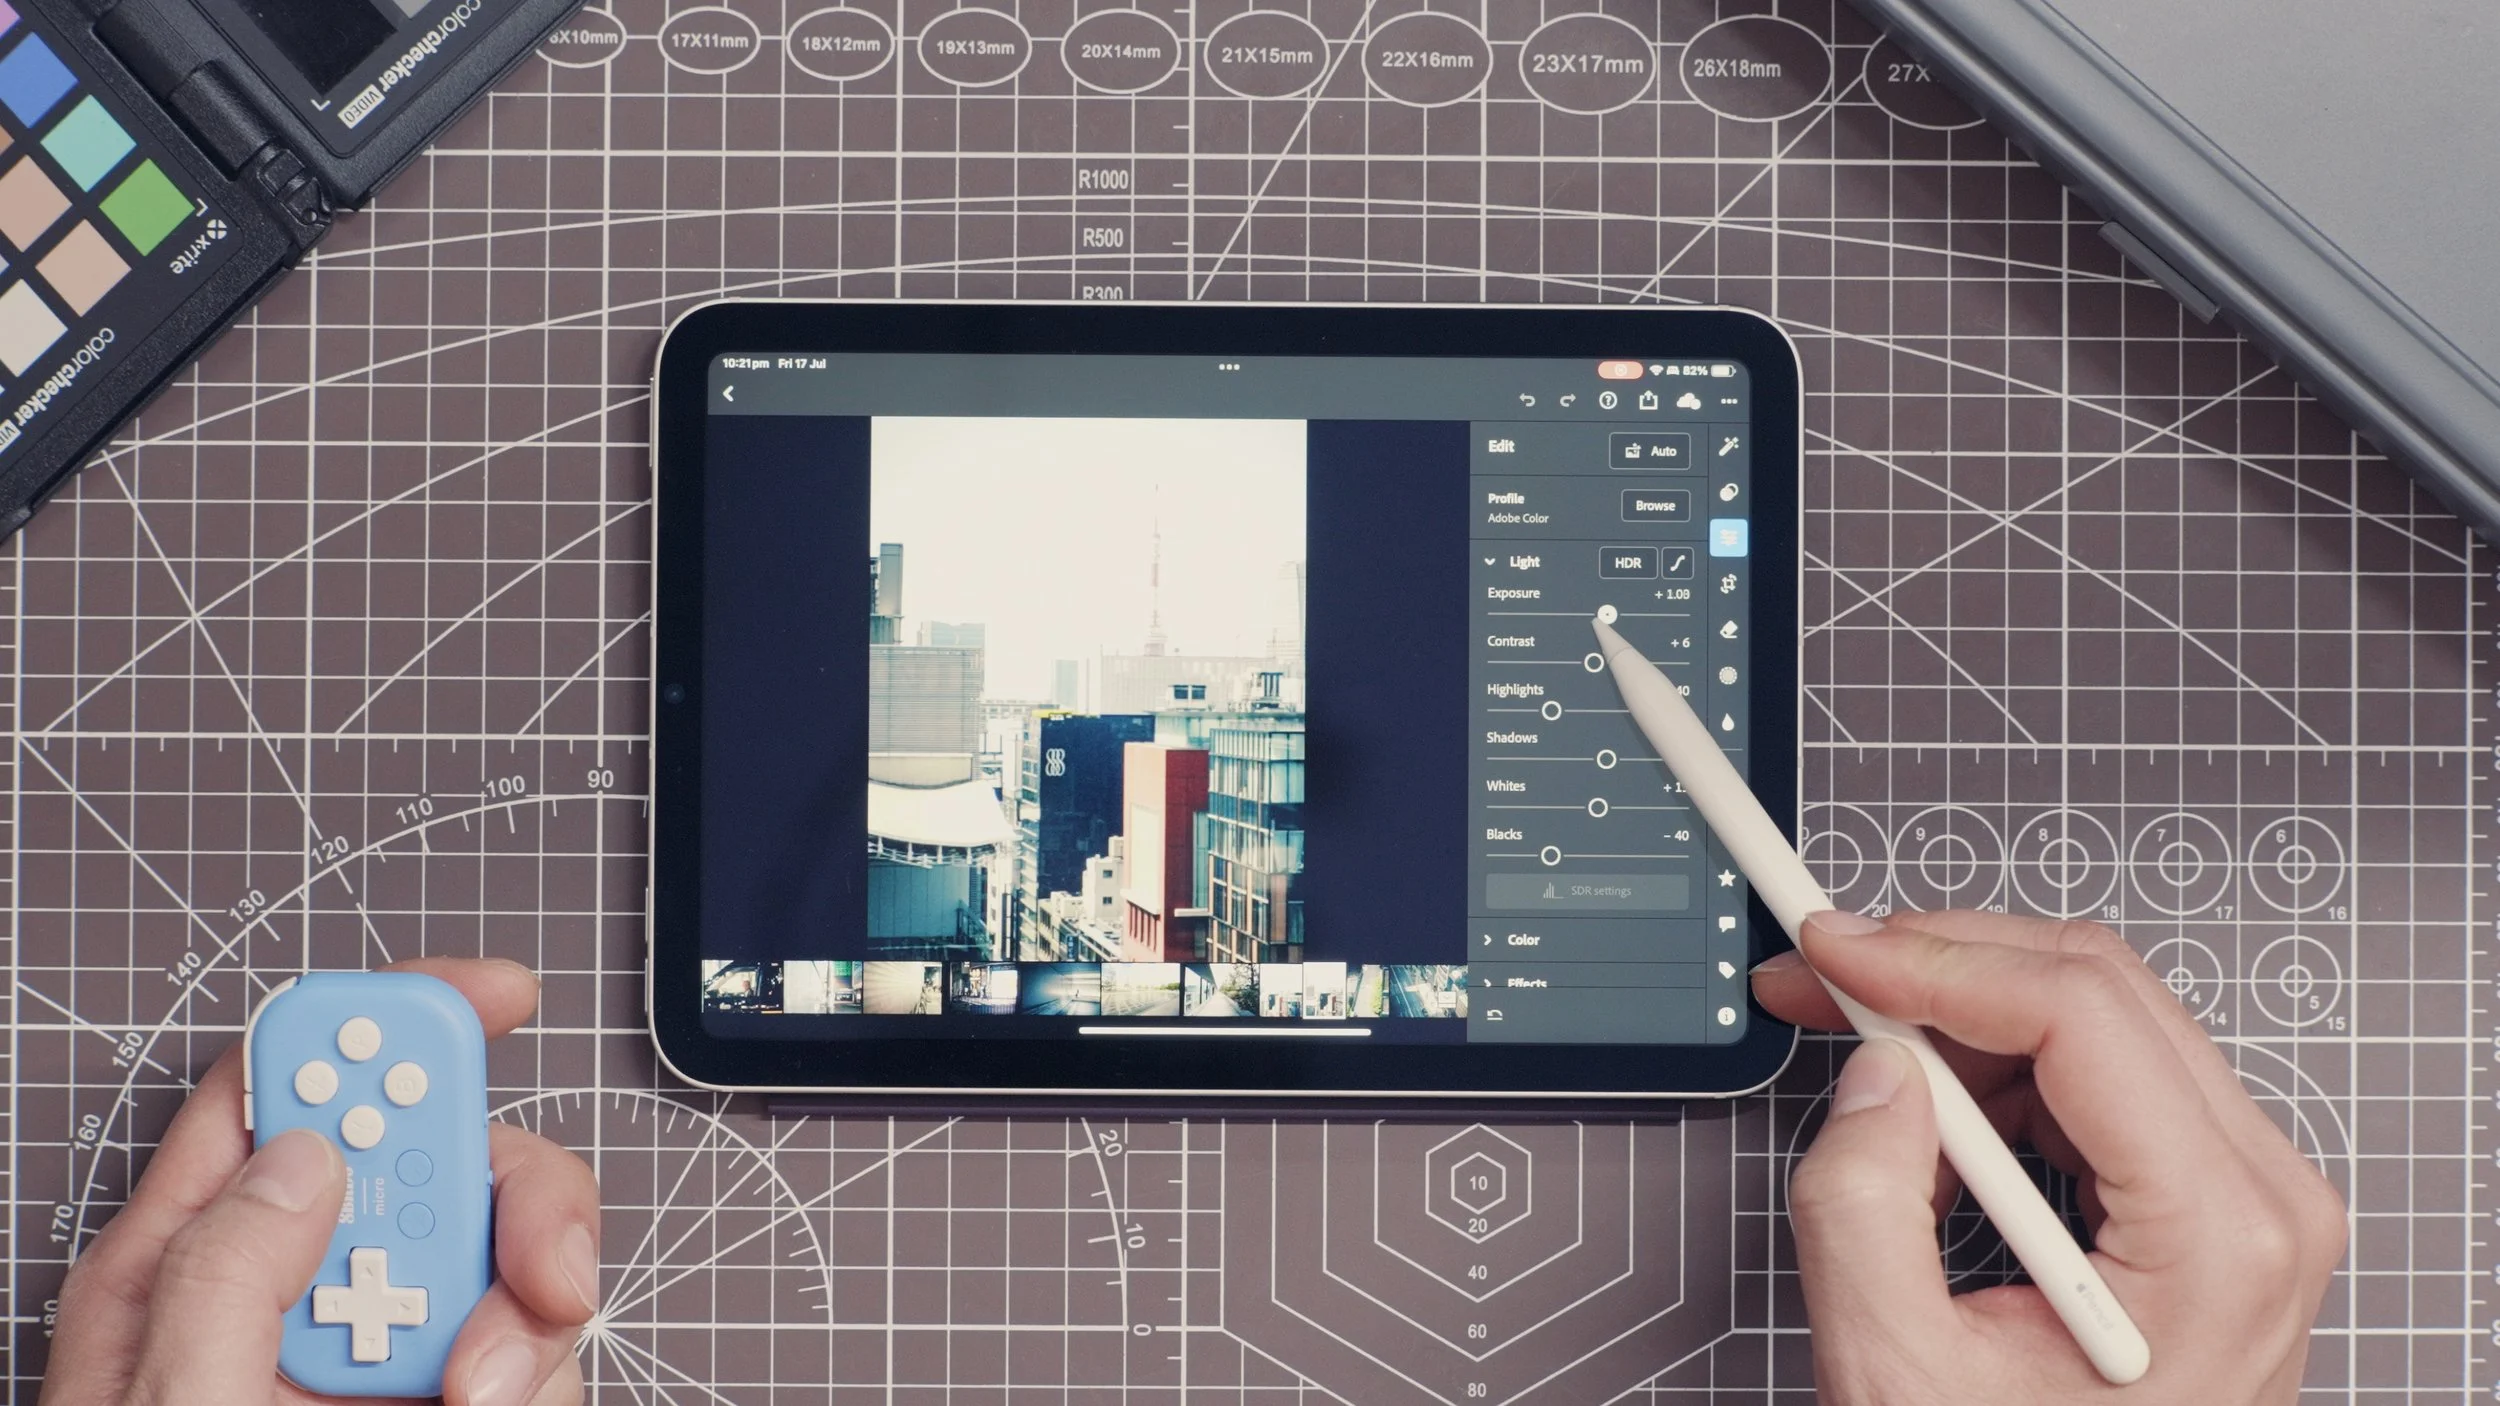
That’s the key to my new iPad photo editing workflow.
Other Lightroom for iPad Tips
Turn “True Tone” in the Display settings of your iPad to OFF. This messes with your colours.
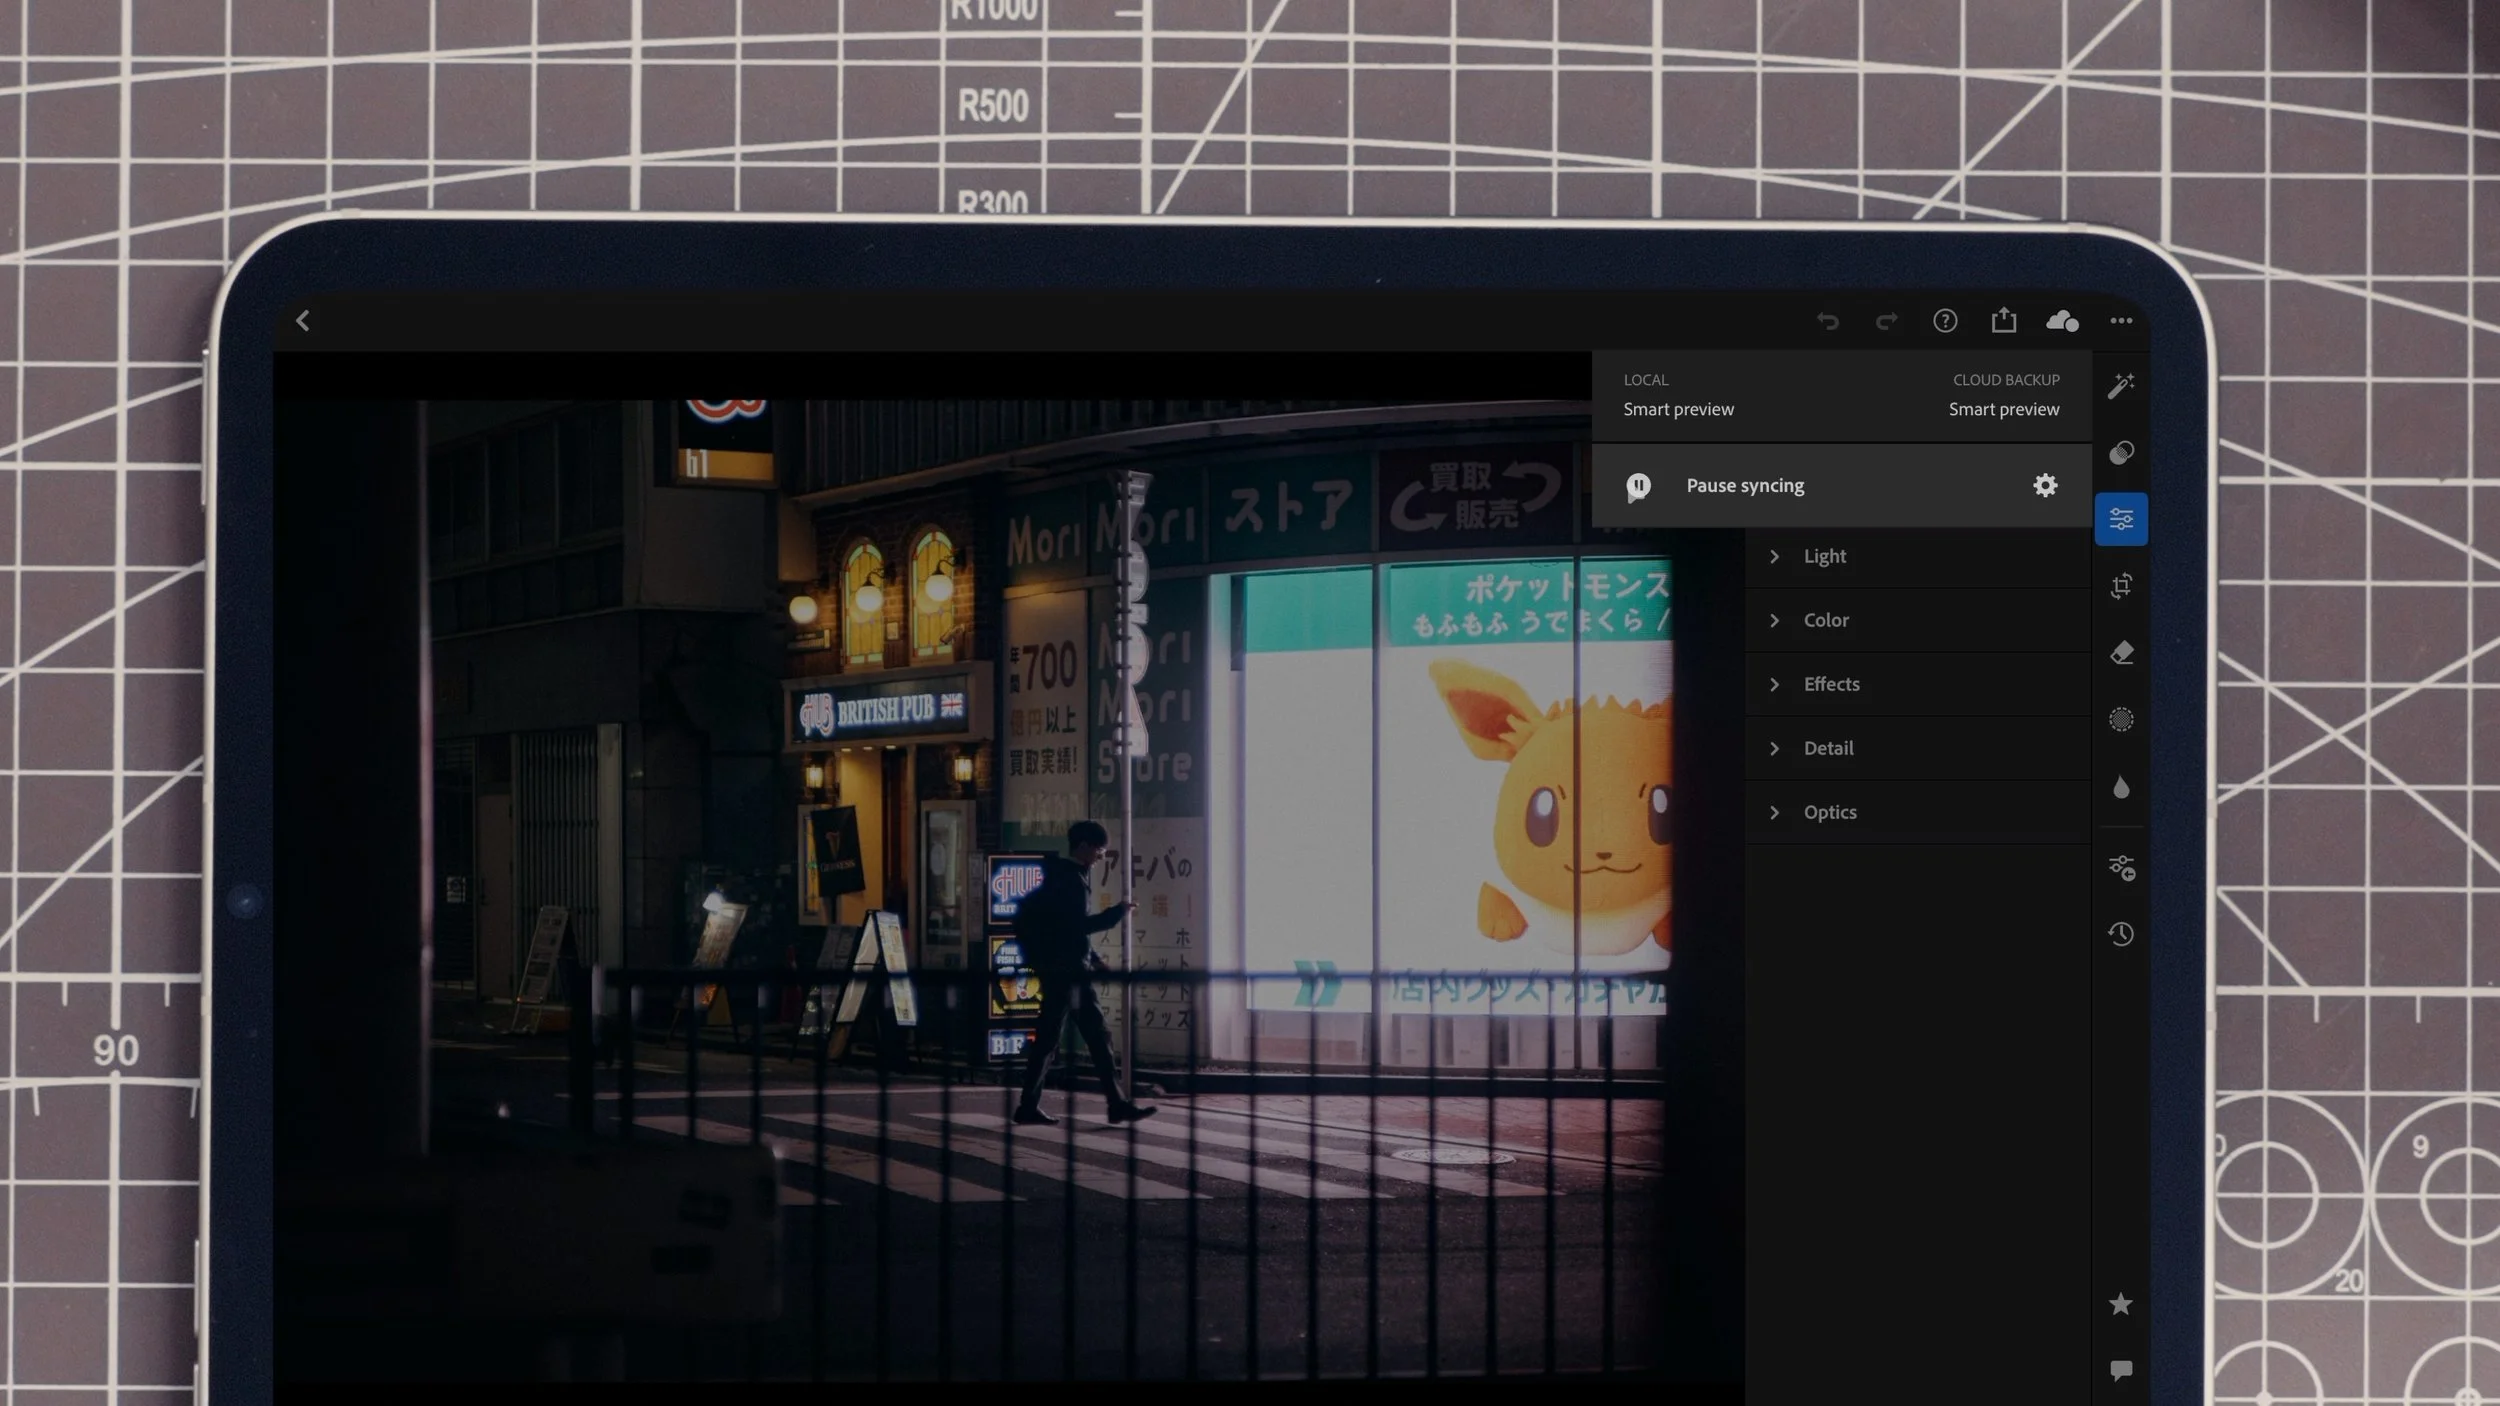
“Pause sync” when you’re importing photos. “Resume sync” when you’ve finished culling to save space on Adobe Cloud
In app settings, “cloud storage and sync”, toggle “prevent from sleep”, to let your files sync overnight.
Save your money, don’t bother with the Apple Pencil Pro for Lightroom. The current version doesn’t take advantage of any of the new Pencil Pro features, the USB-C Apple Pencil works fine
The nano-texture display is nice, but unnecessary; the glossy display looks better under most conditions (except for bright outdoor settings) and is easier to clean
11” is the sweet spot size wise; either iPad Pro 11” or iPad Air would be my default pick. iPad mini is great but I spend a lot less time zooming in and out on a bigger screen.
Having a preset you apply on import is the biggest time saver.
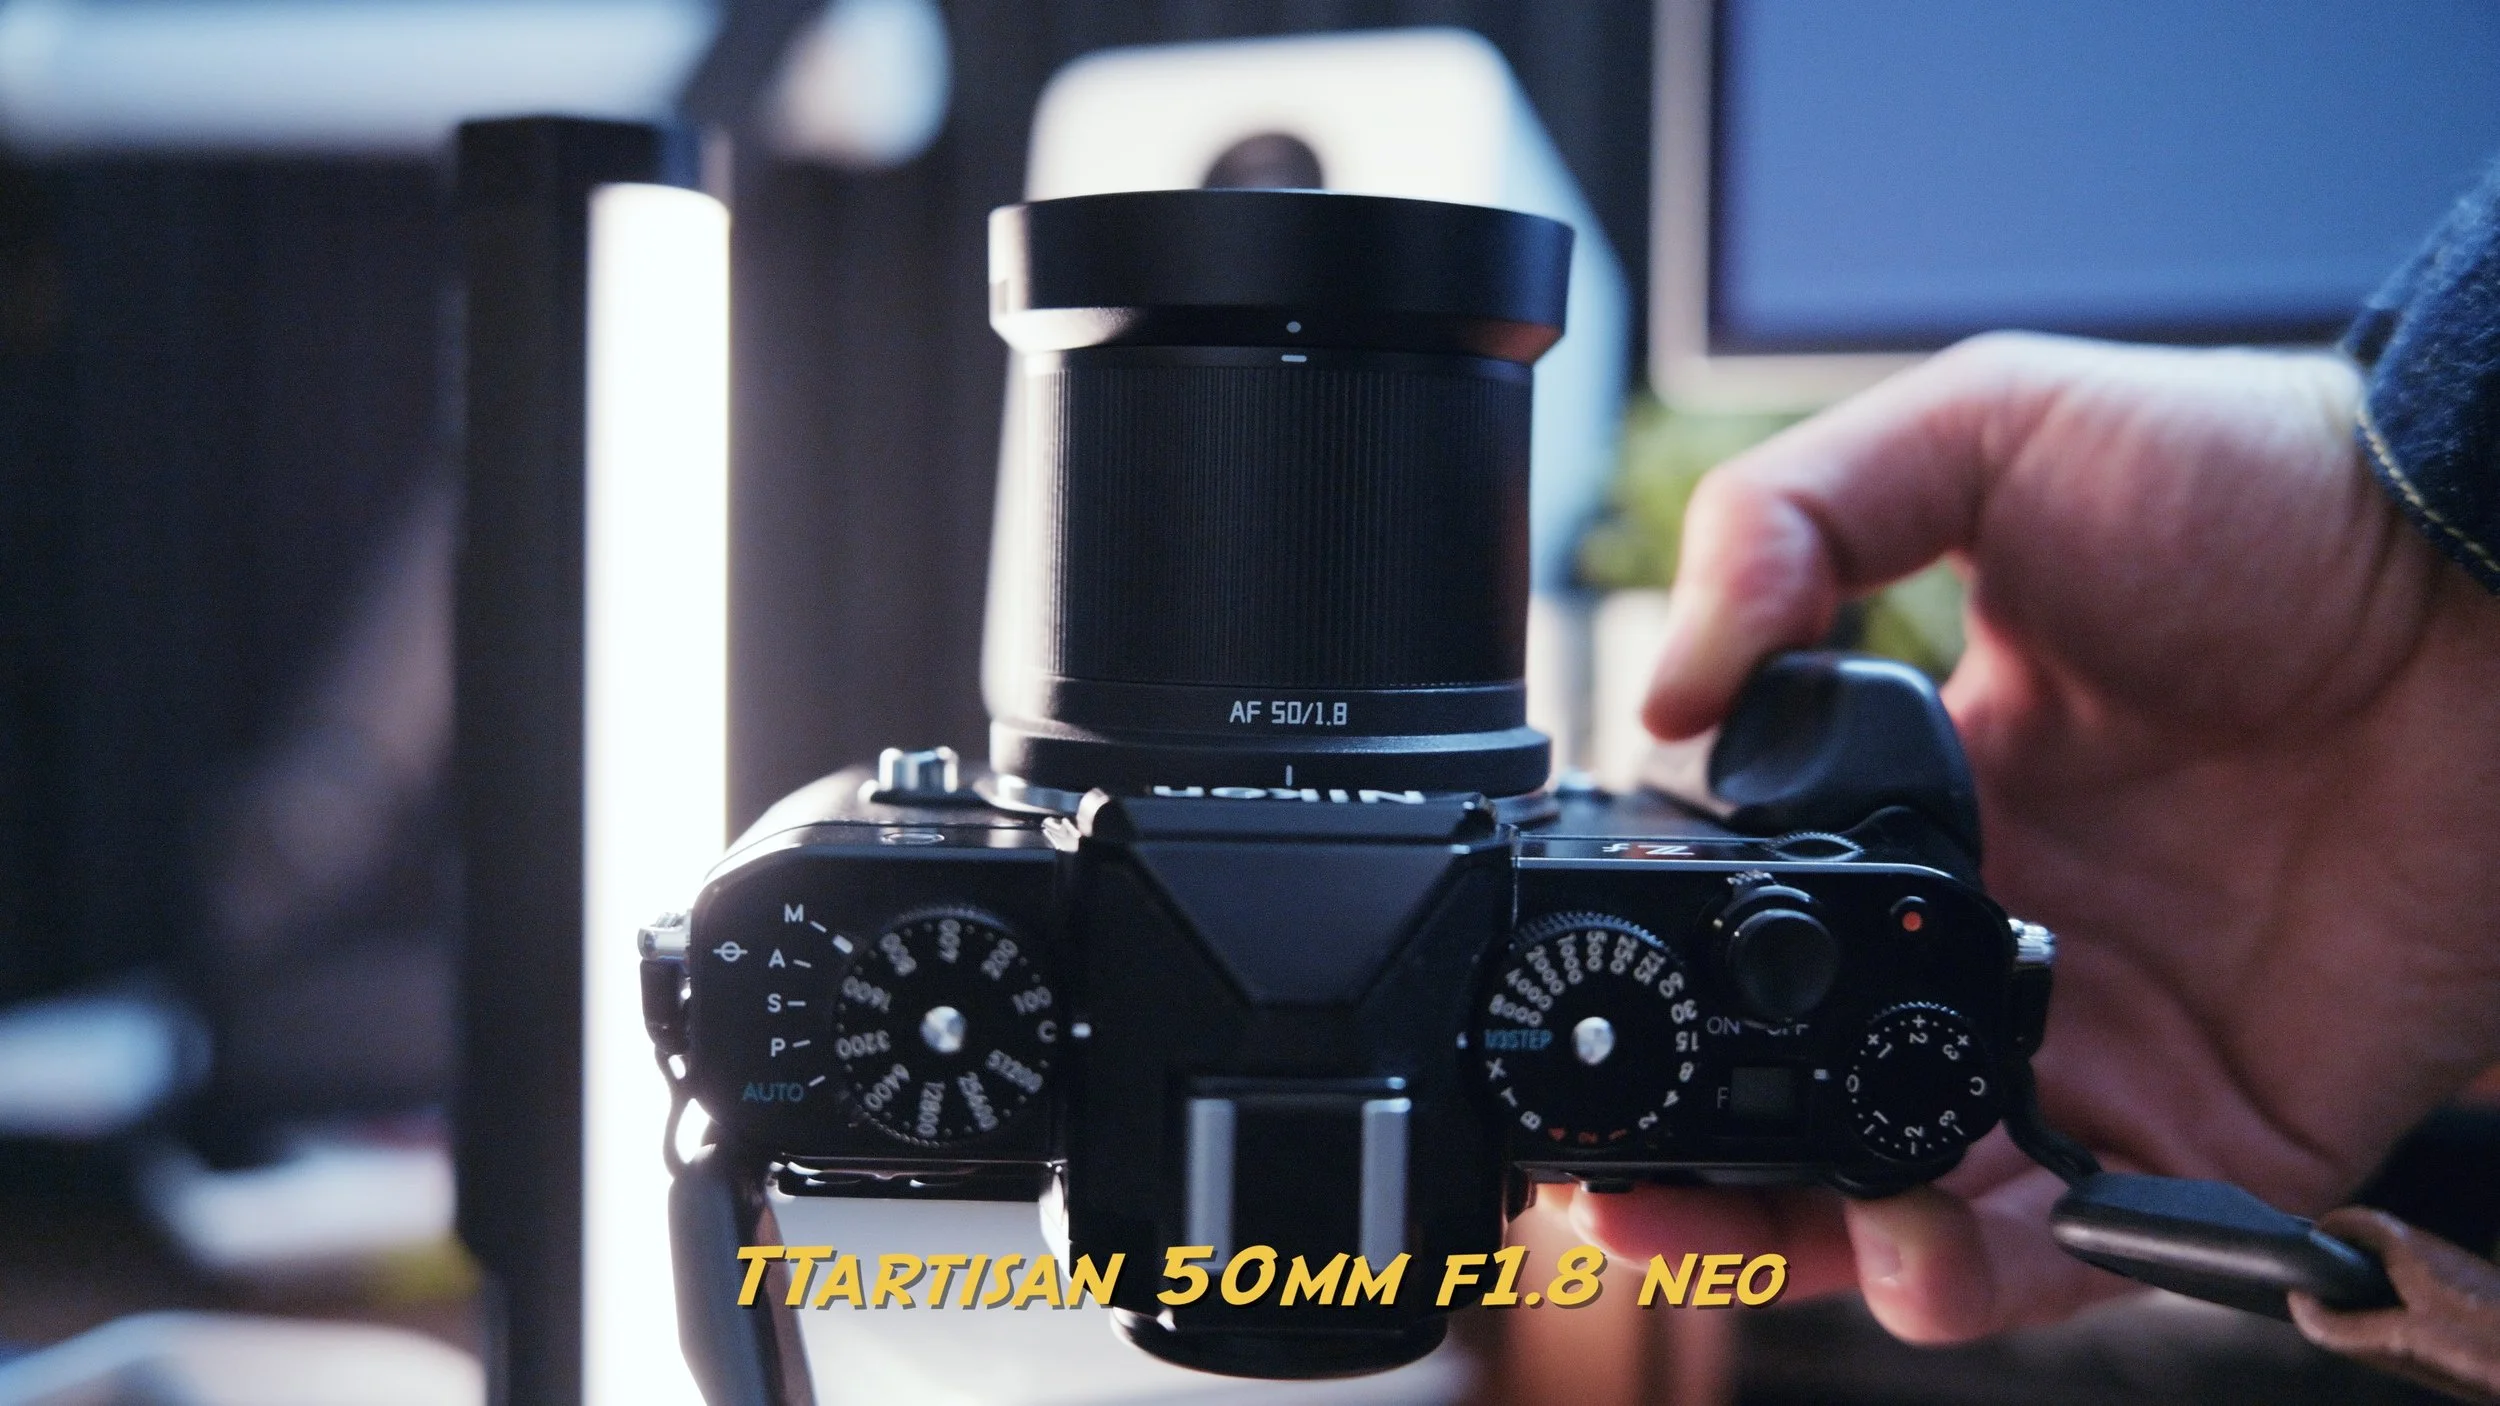
These photos taken on the TTArtisan 50mm 1.8 NEO were all edited using my Lightroom preset, you can download it for free to get started until you fine-tune your own import preset.

I’m still looking for entries for an upcoming 50mm episode of my LensLab series. If you'd like to share your 50mm photos with this community (>20K YouTube, 1K newsletter)?
Fill in the form below:
Why not a MacBook Air or Neo?
The base model 13” IPad Pro costs significantly more than the base model 13” MacBook Air, doesn’t a MacBook Air or Neo with Lightroom classic fix all of these problem?
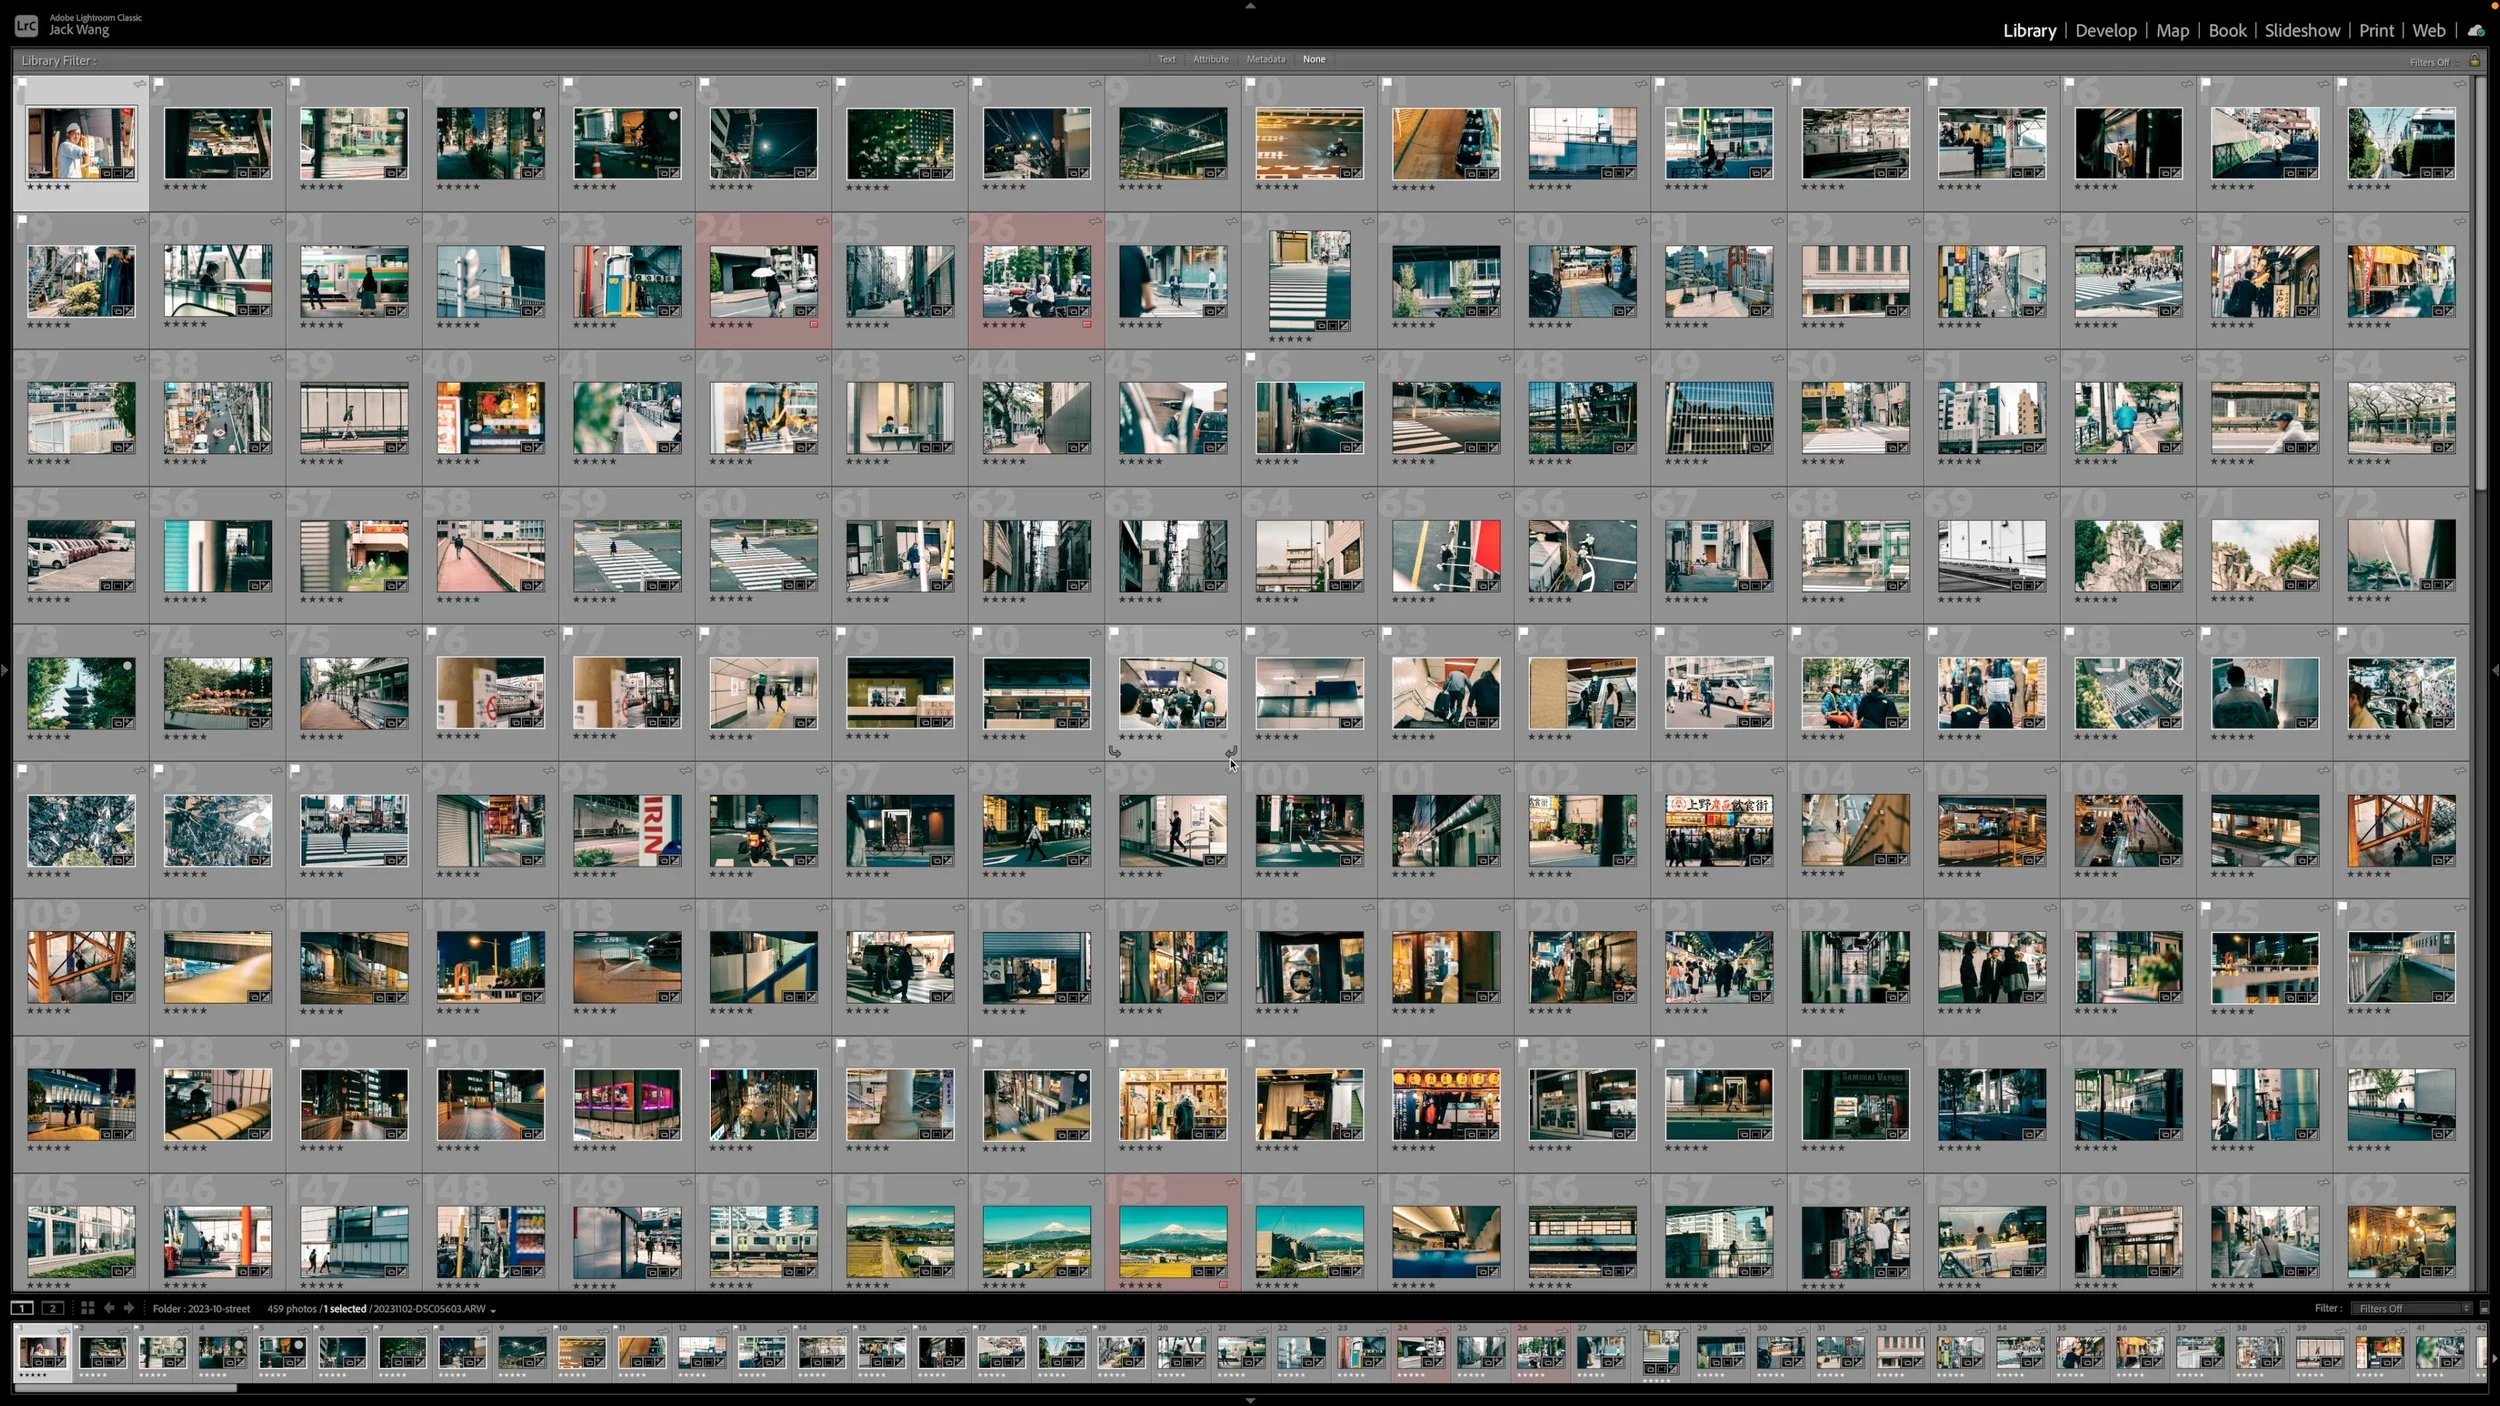
The original version of Lightroom isn’t made for travel. Adobe has said so, they want us to use 1 catalog at a time on 1 machine at a time, unless you keep your Lightroom catalog file on a portable drive to move between devices.
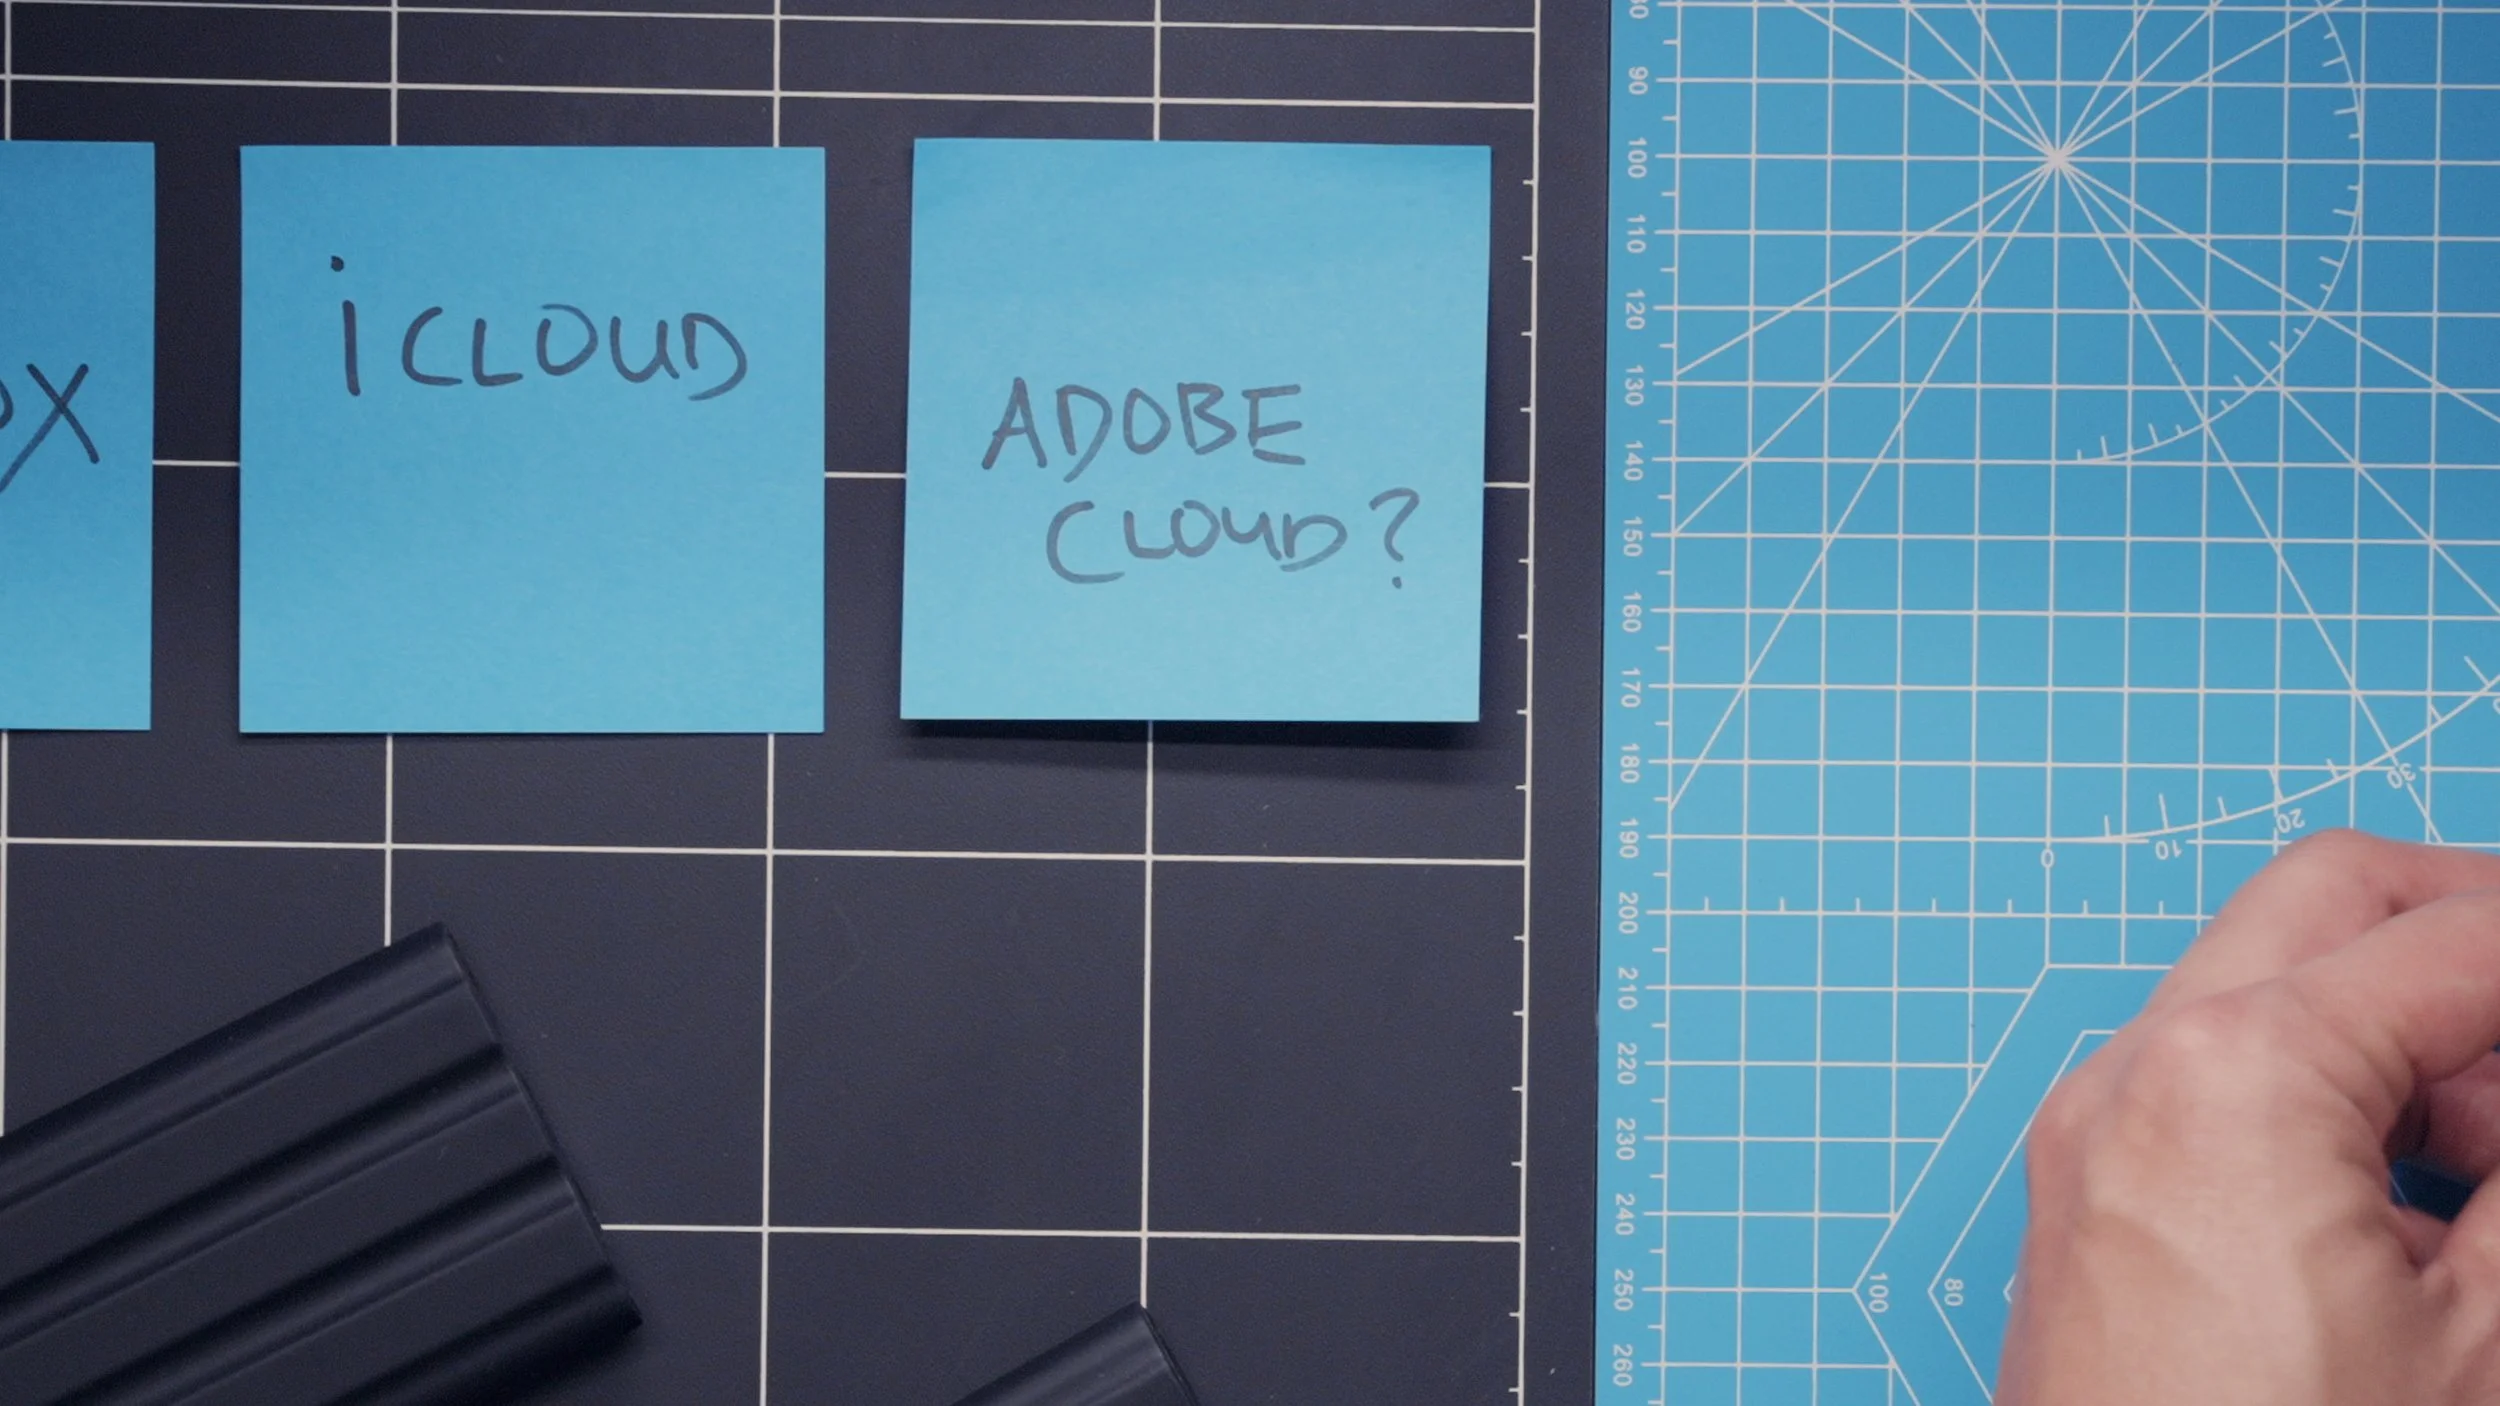
LR for iPad is built to sync your photos on Adobe cloud, I can open and edit them on any of these iPads. You can use this version of Lightroom on laptops too, but it’s got a slightly different user interface again from not only Lightroom classic, but also Lightroom on iPad. Less powerful than classic, not as fun as the iPad version using touchscreen and pencil.
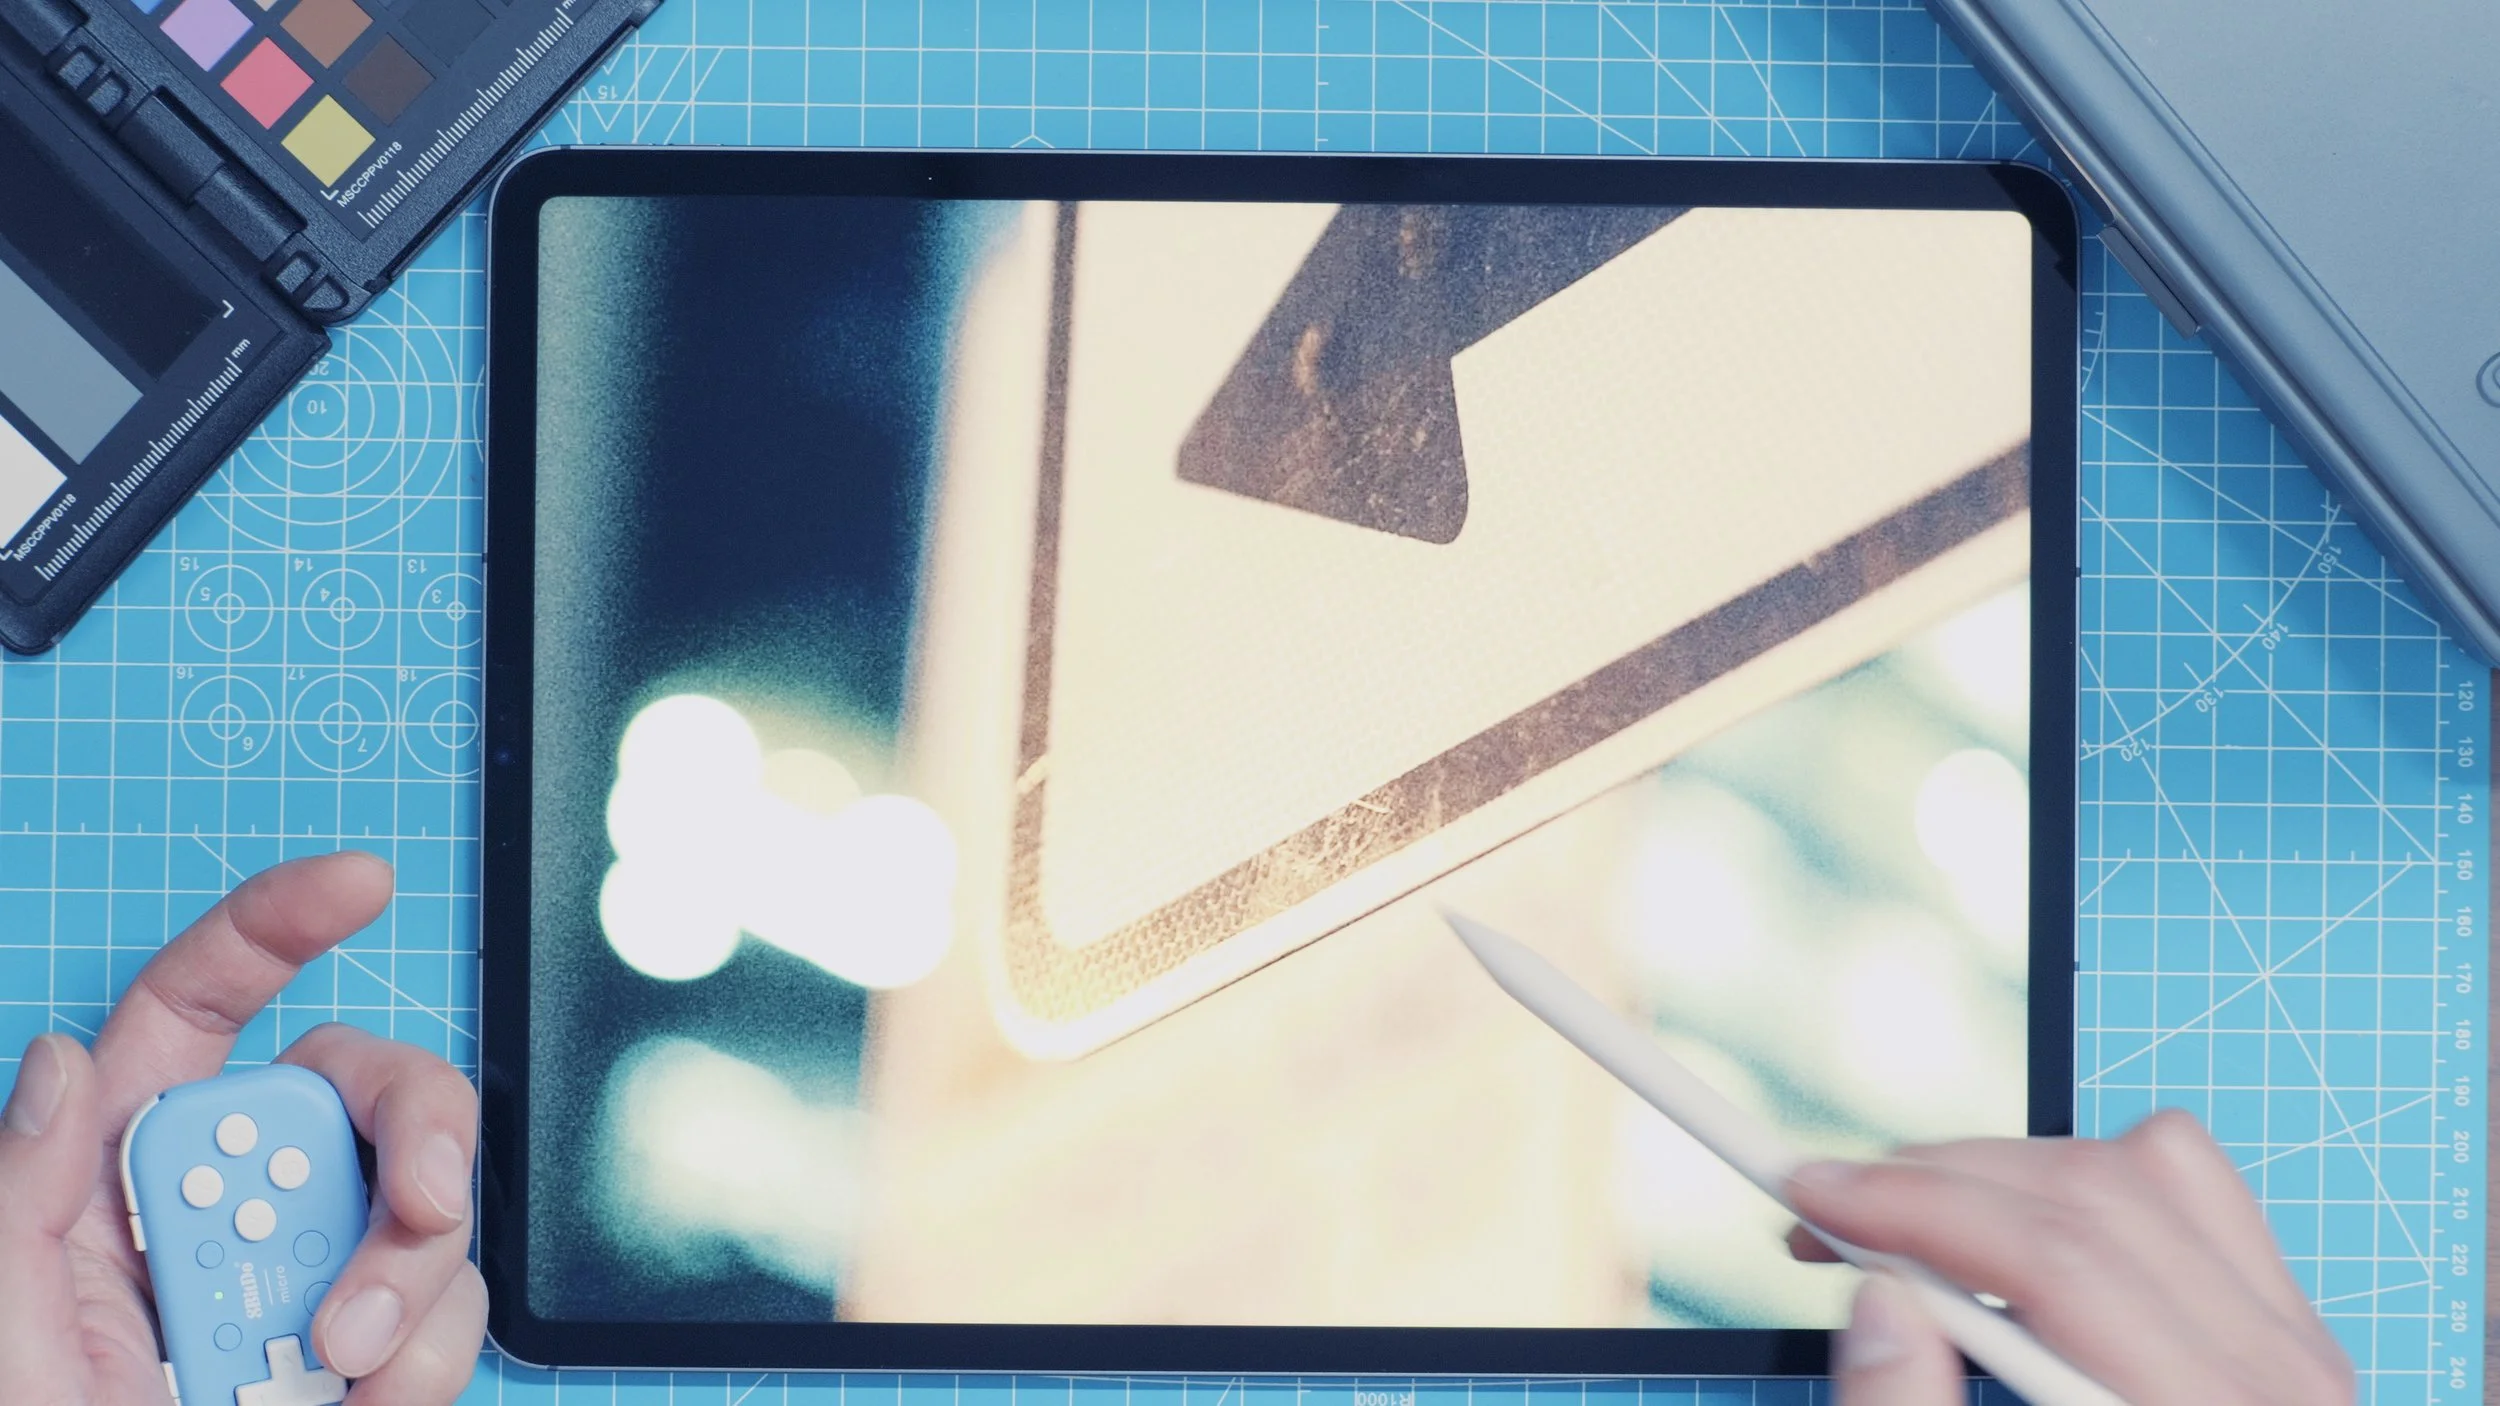
Can I edit all my photos on iPad?
Sadly no.
Lightroom mobile is still missing a lot of features, but the dealbreaker for me is something very simple. On Lightroom Classic on desktop I can select two photos and compare them side by side. I need this function to do all of my camera and lens testing, I thought it’d be a no-brainer inclusion on Lightroom for iPad given the bigger screen real estate.
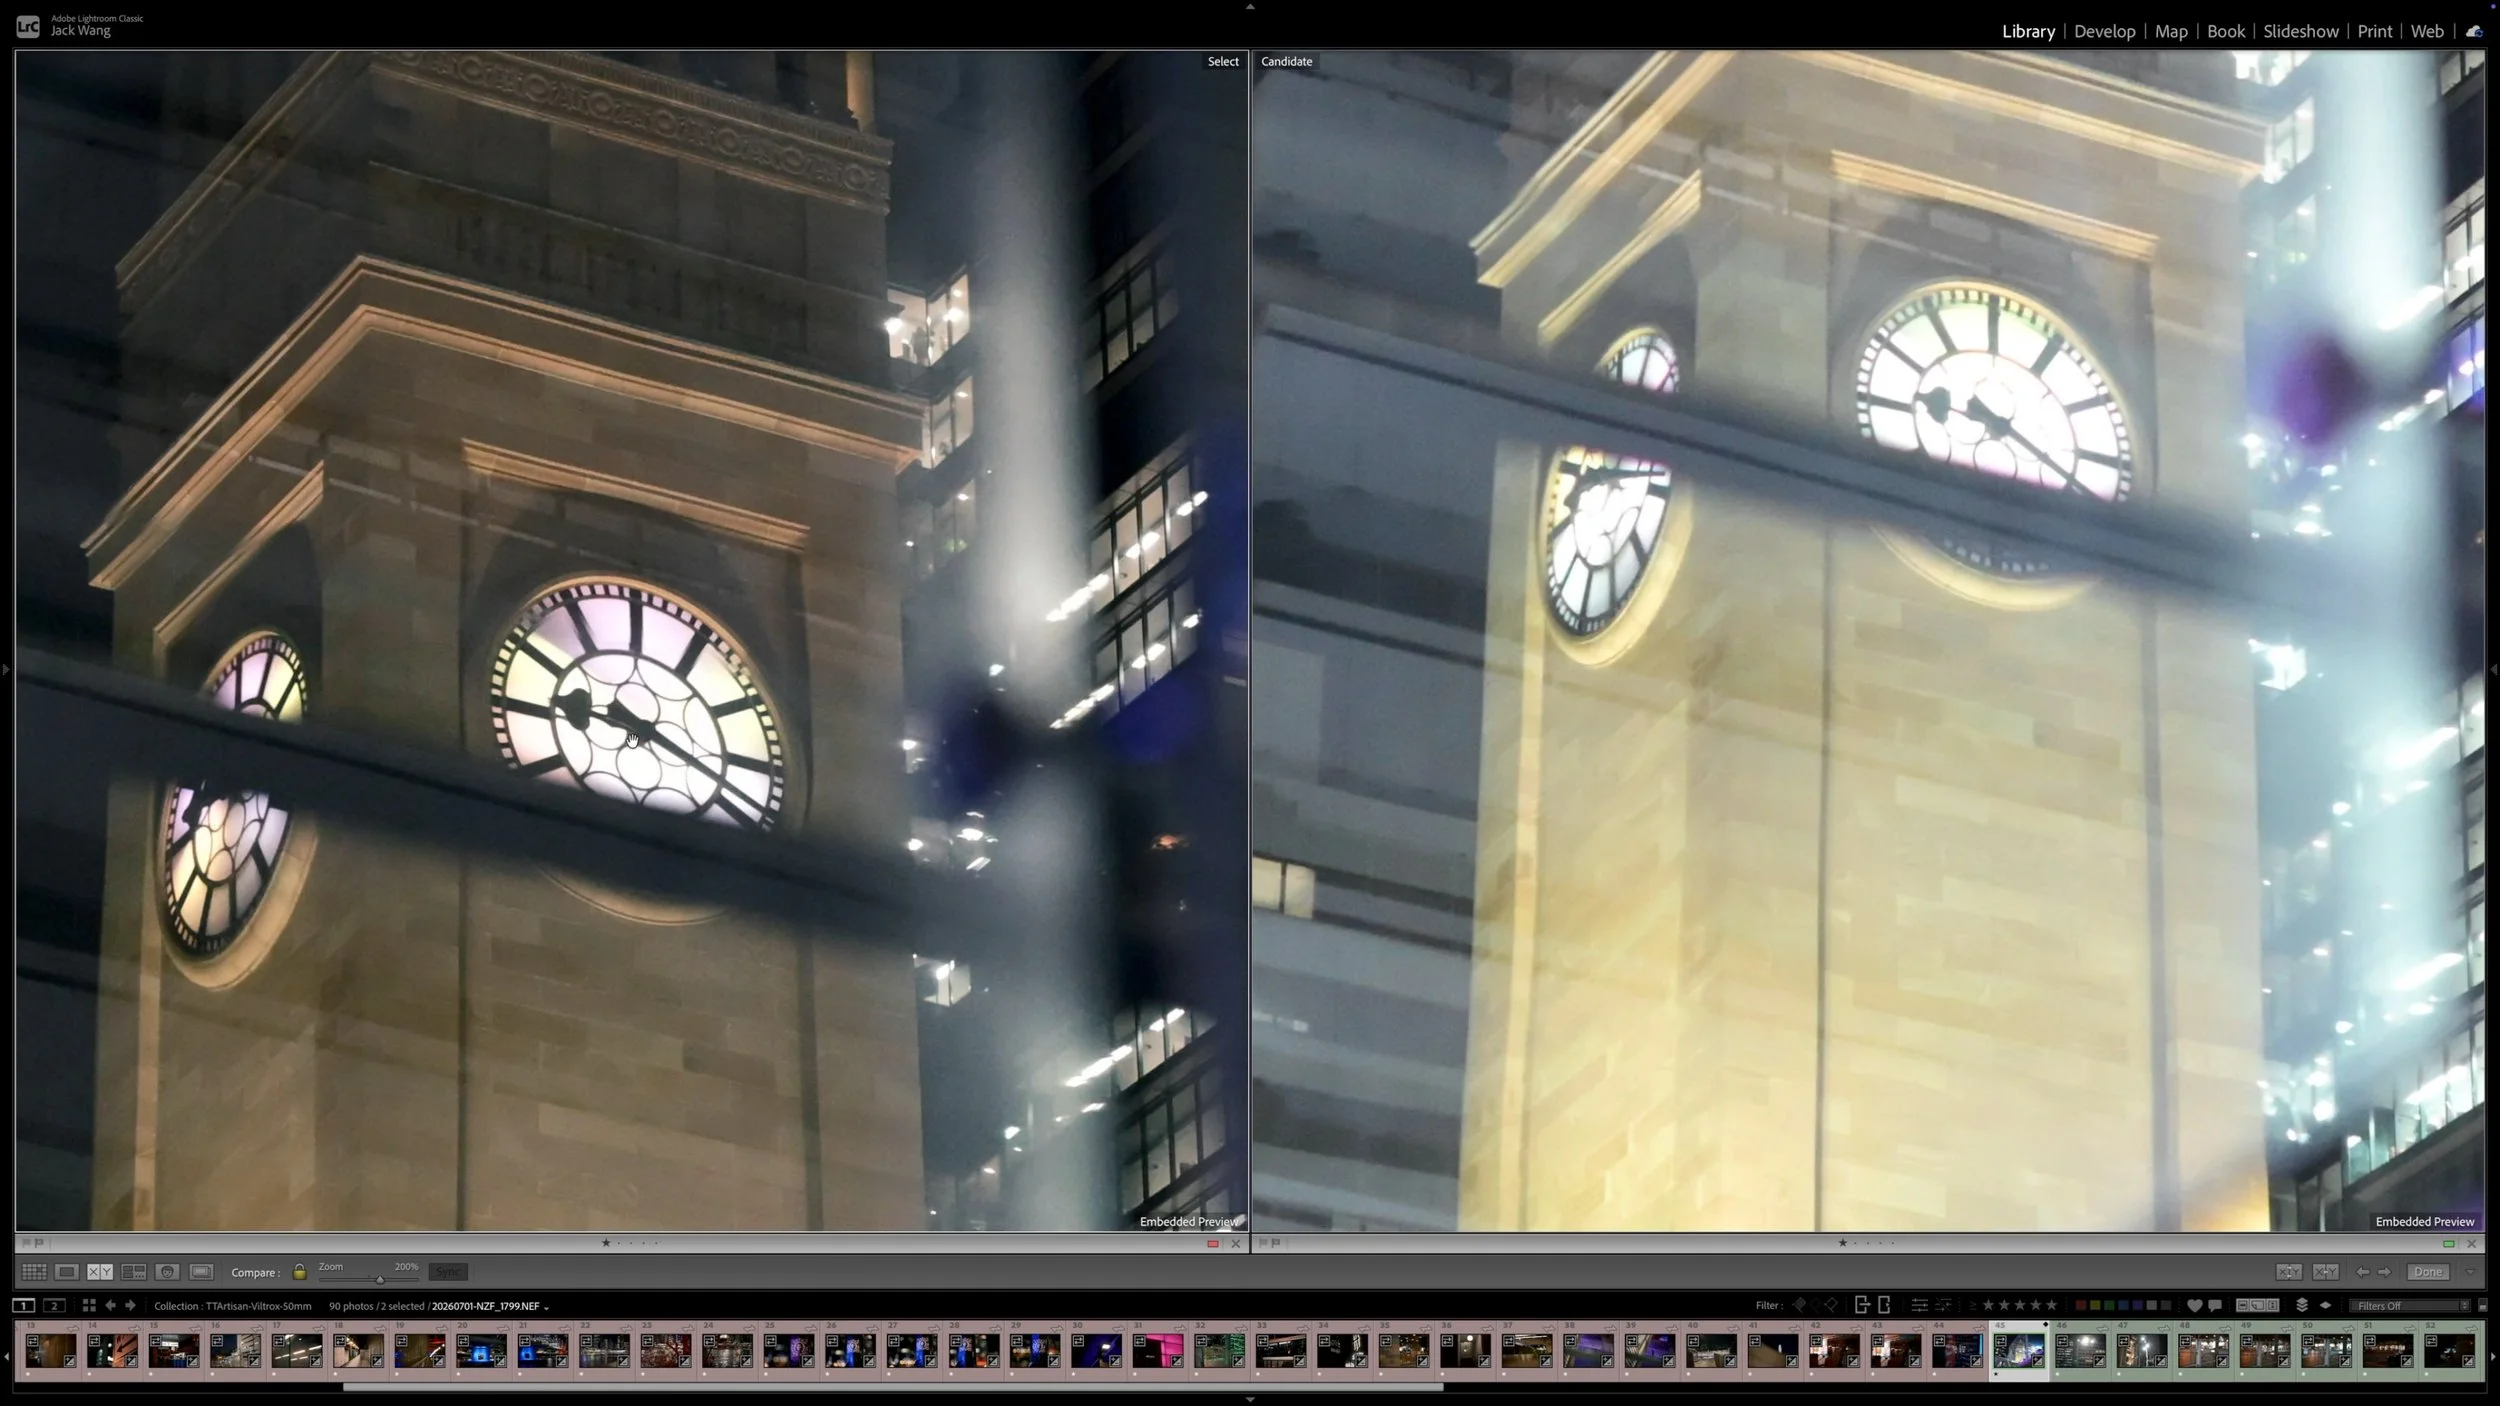
At the time of writing this post, comparing 2 photos side by side is still missing for Lightroom on iPad. This is why as fun (and quick) this editing setup is (gamepad, iPad, pencil), I can’t use it to edit all my photos. Just for travel, those one lens one camera days, keeps everything nice and casual.
In this week’s video I show how this works across different iPad sizes, compare the older mini LED iPad screens to the newest tandem OLED screens for colour accuracy, and more.
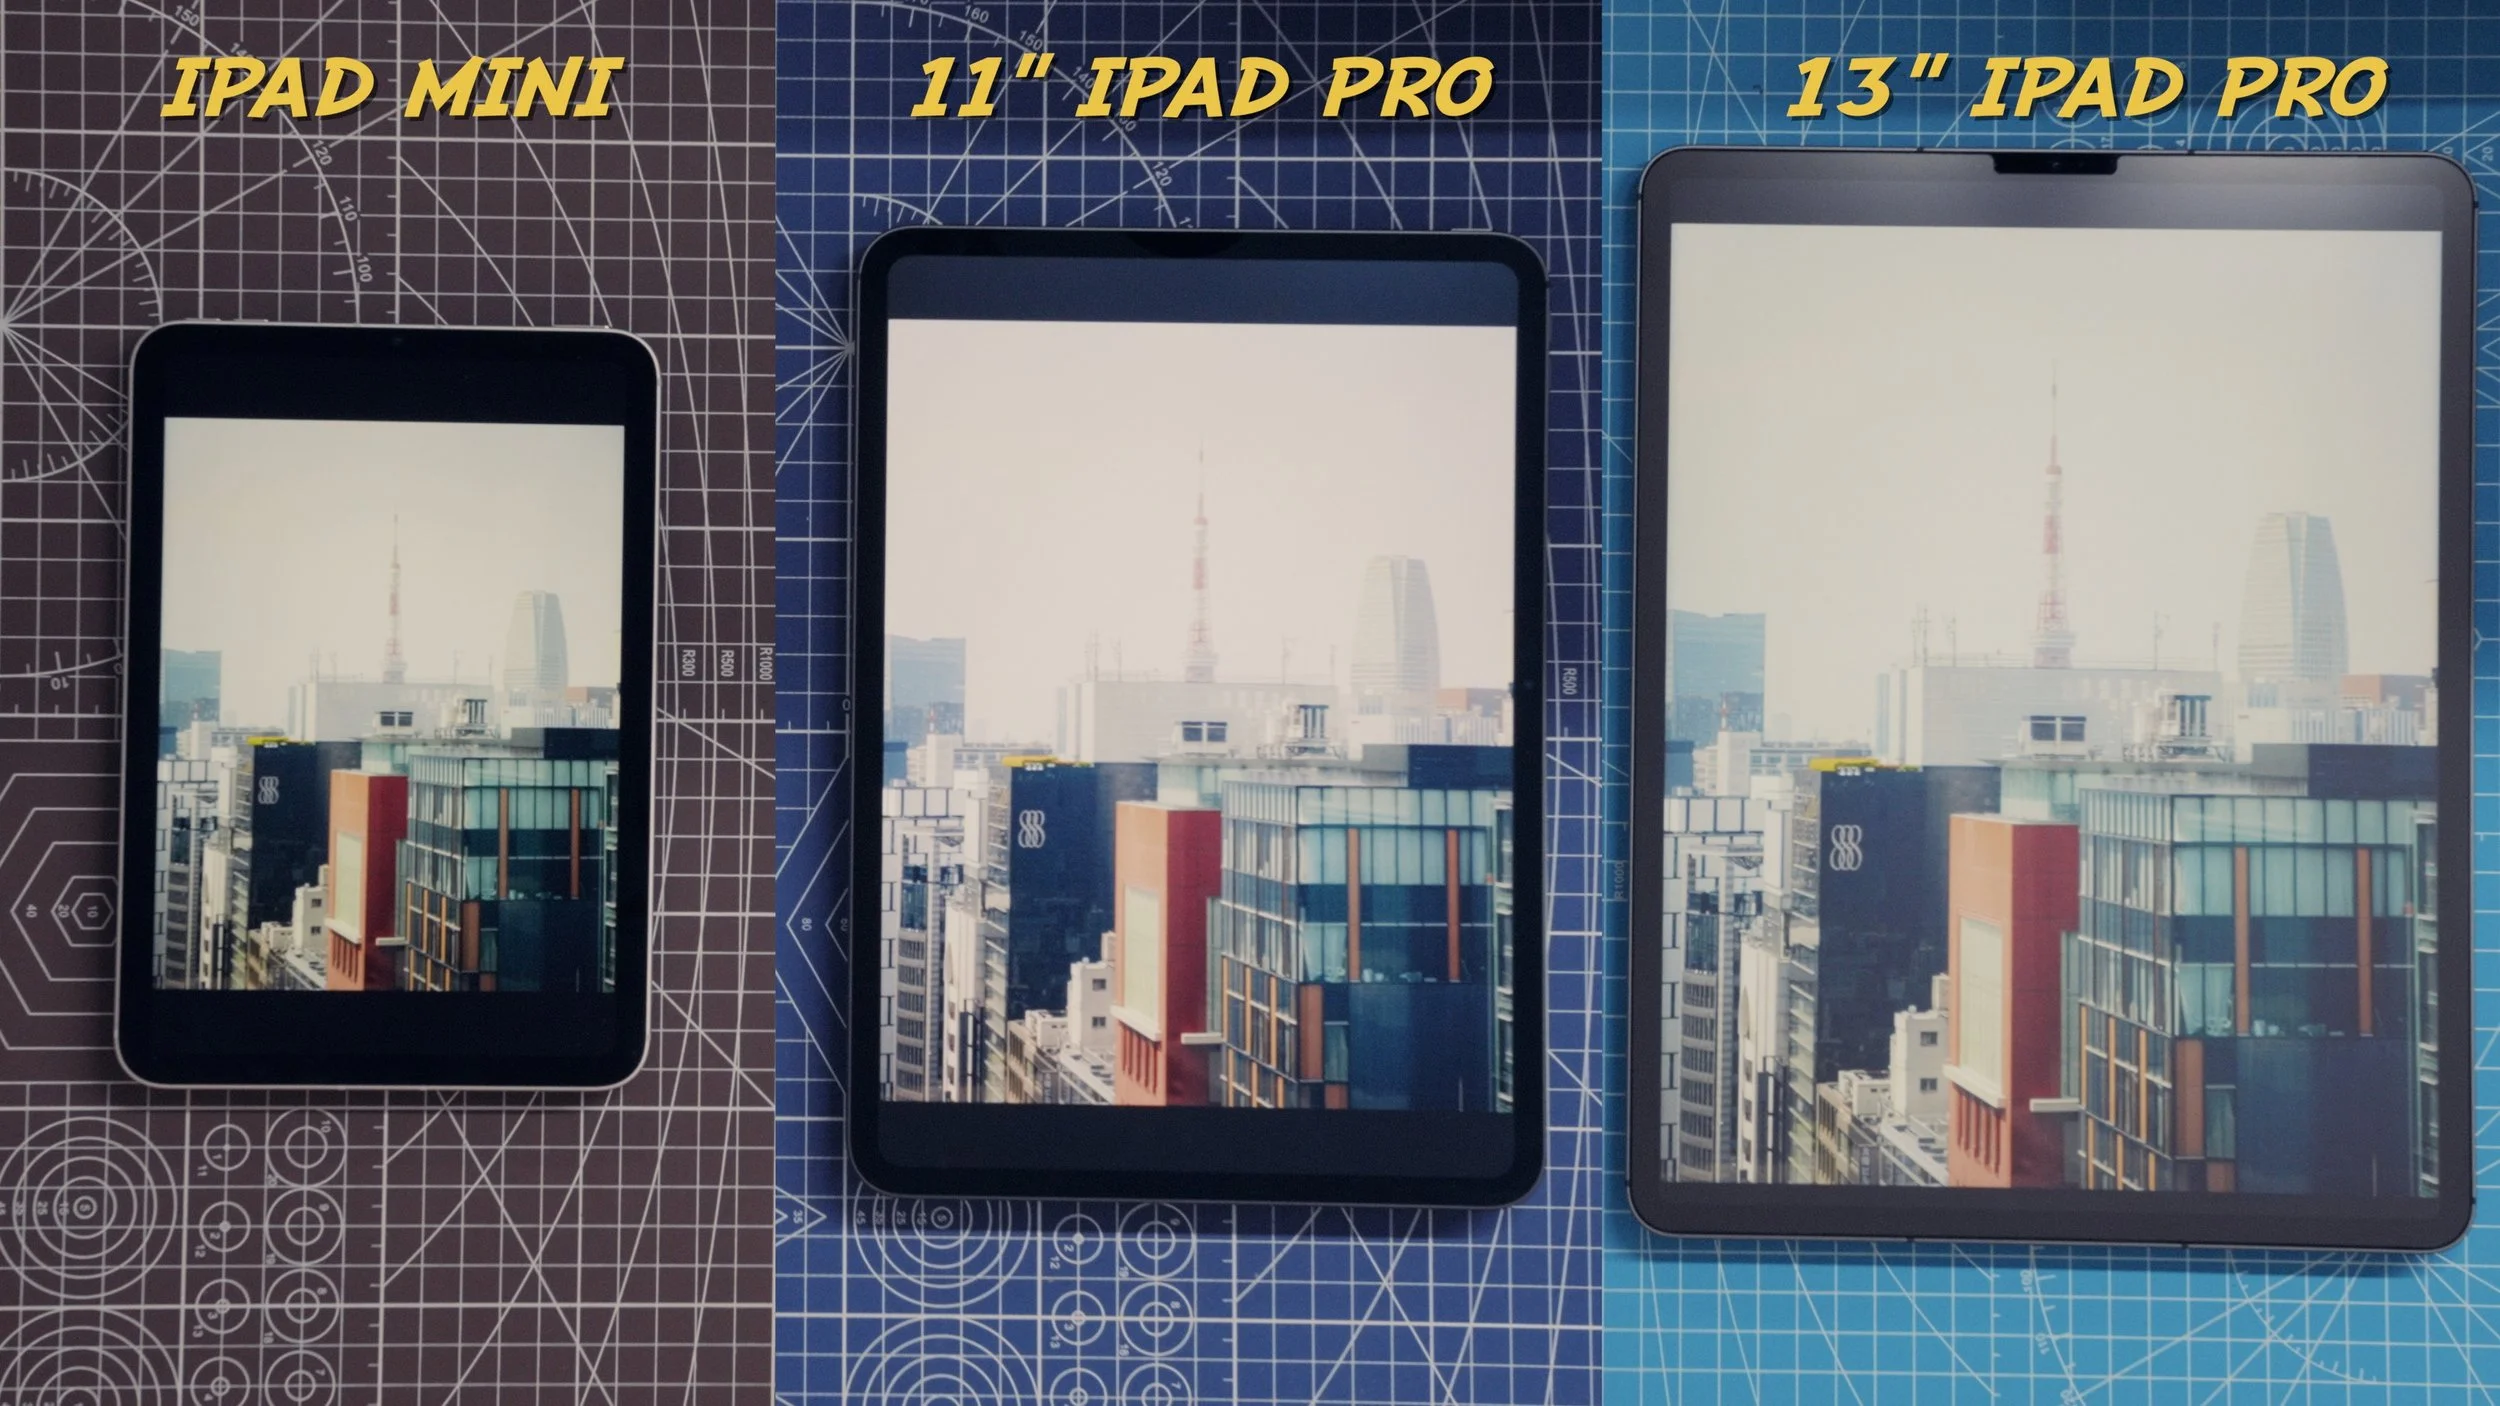
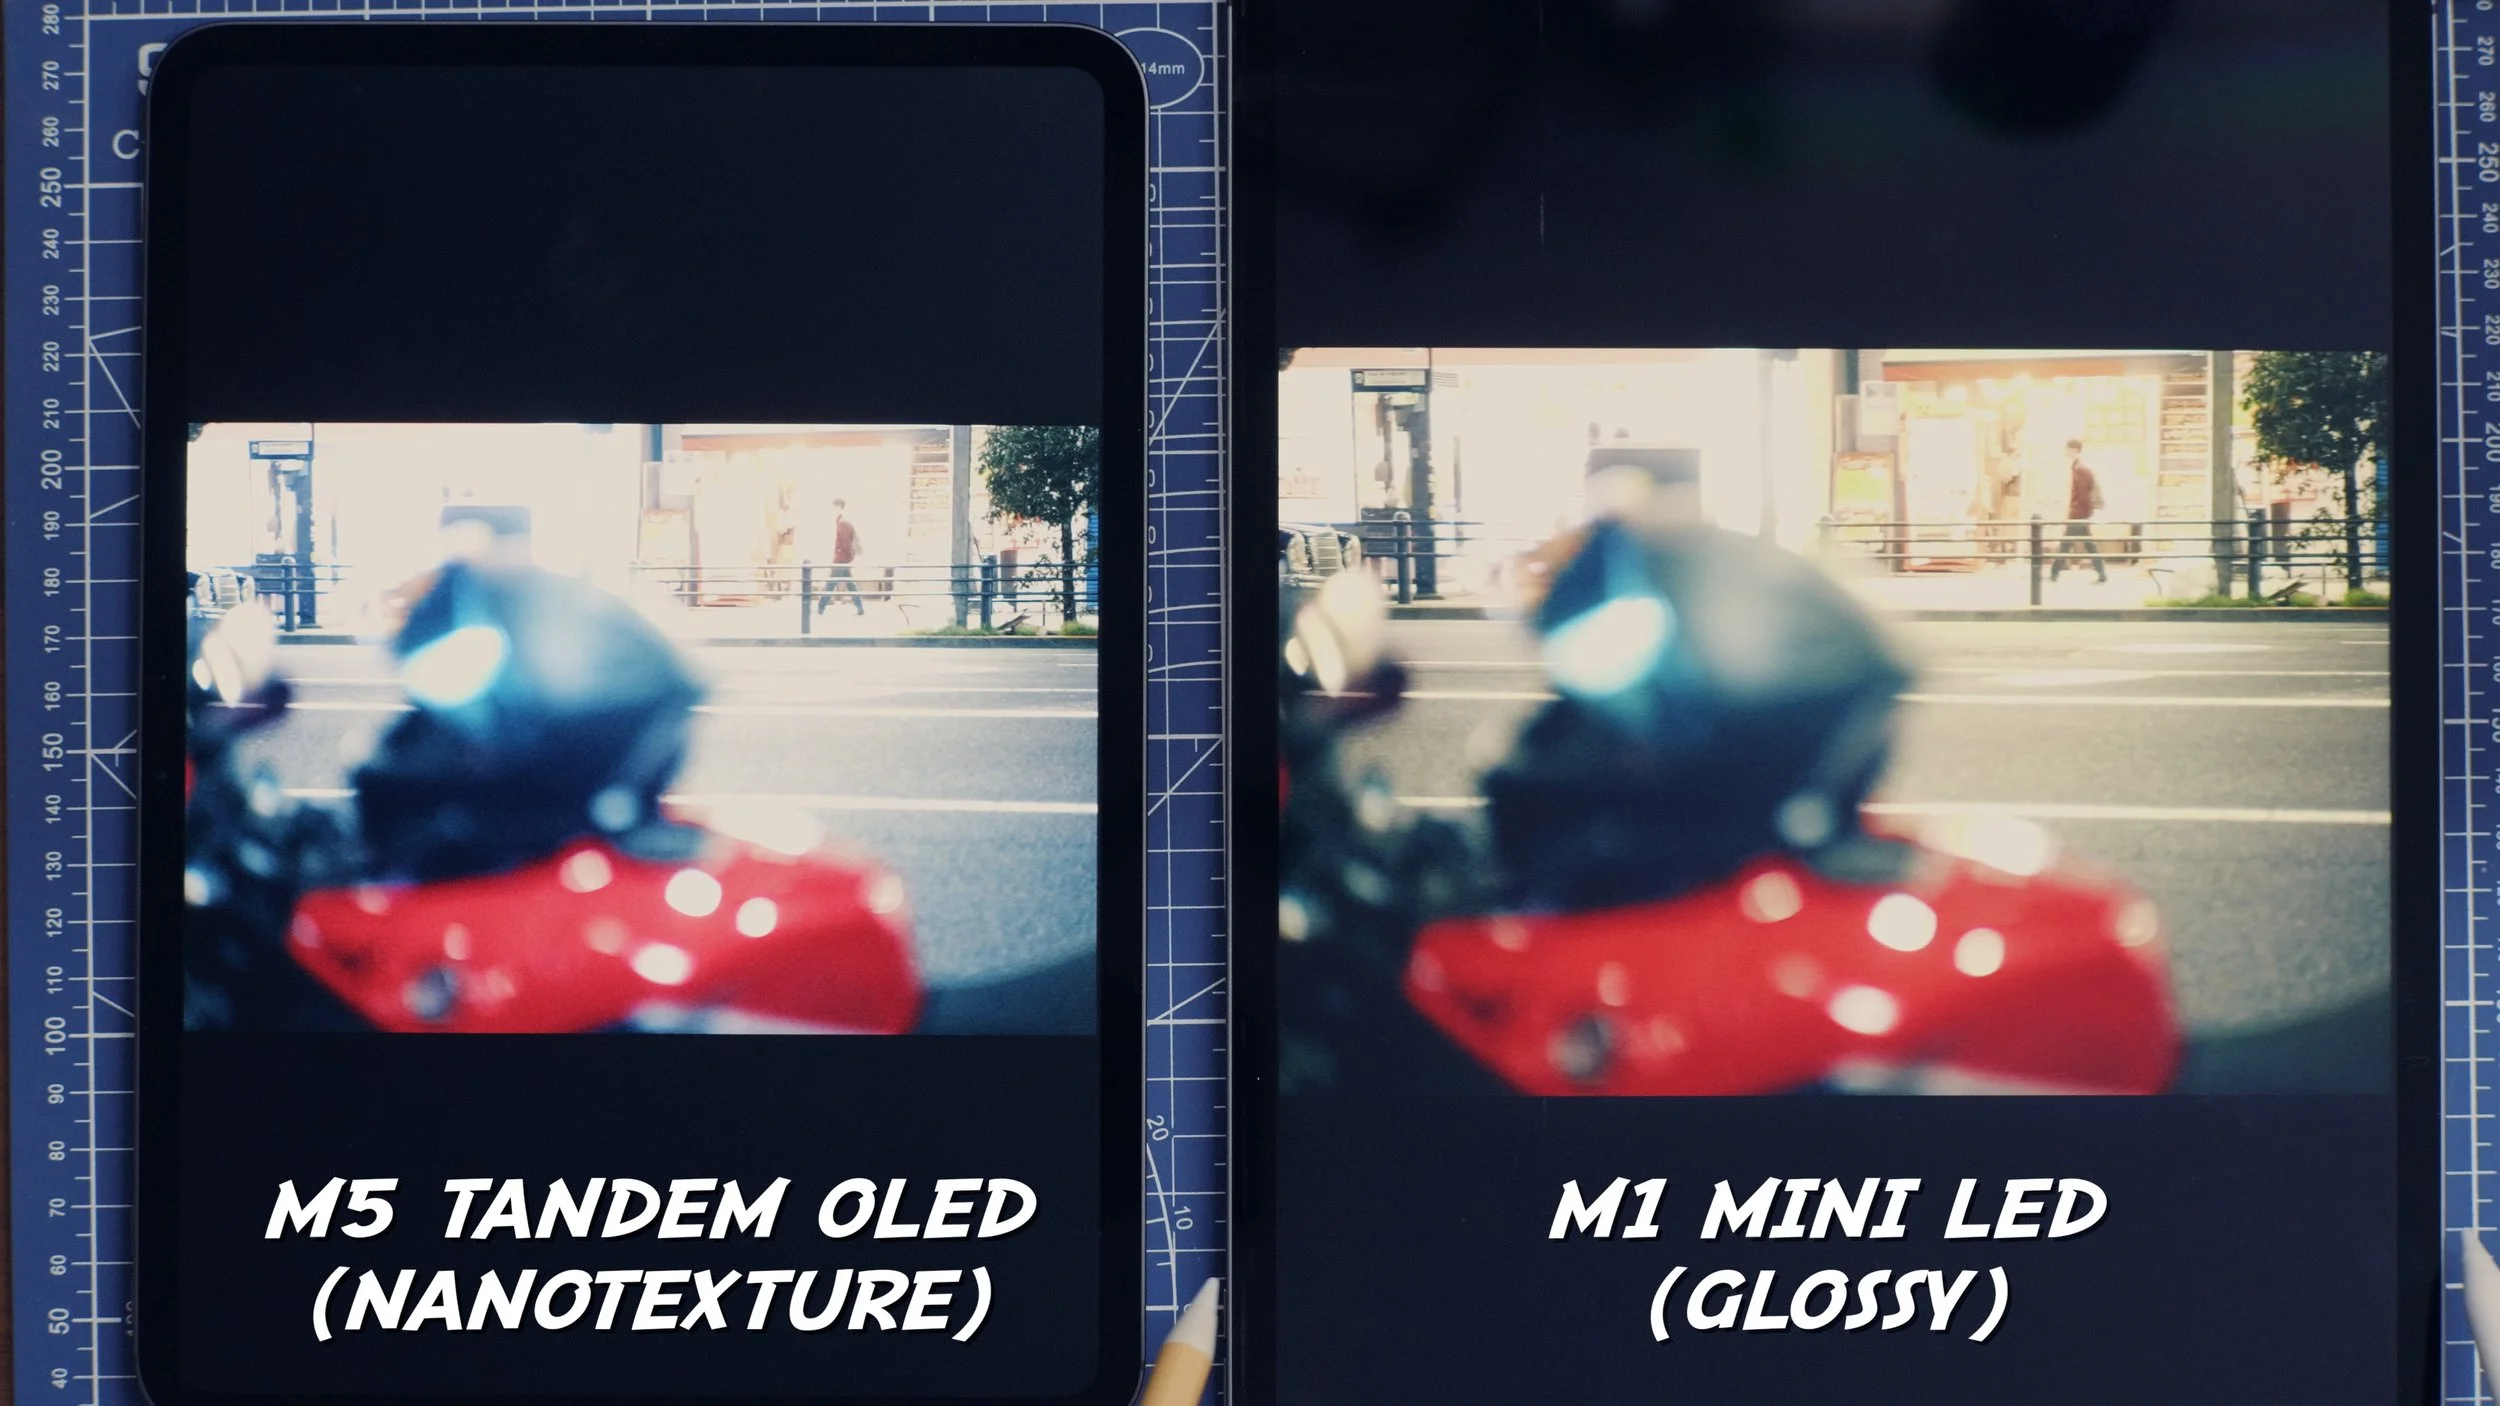
The new Tandem OLED screens on the M5 iPad Pro appear to be more color accurate.
Happy editing!
Jack.
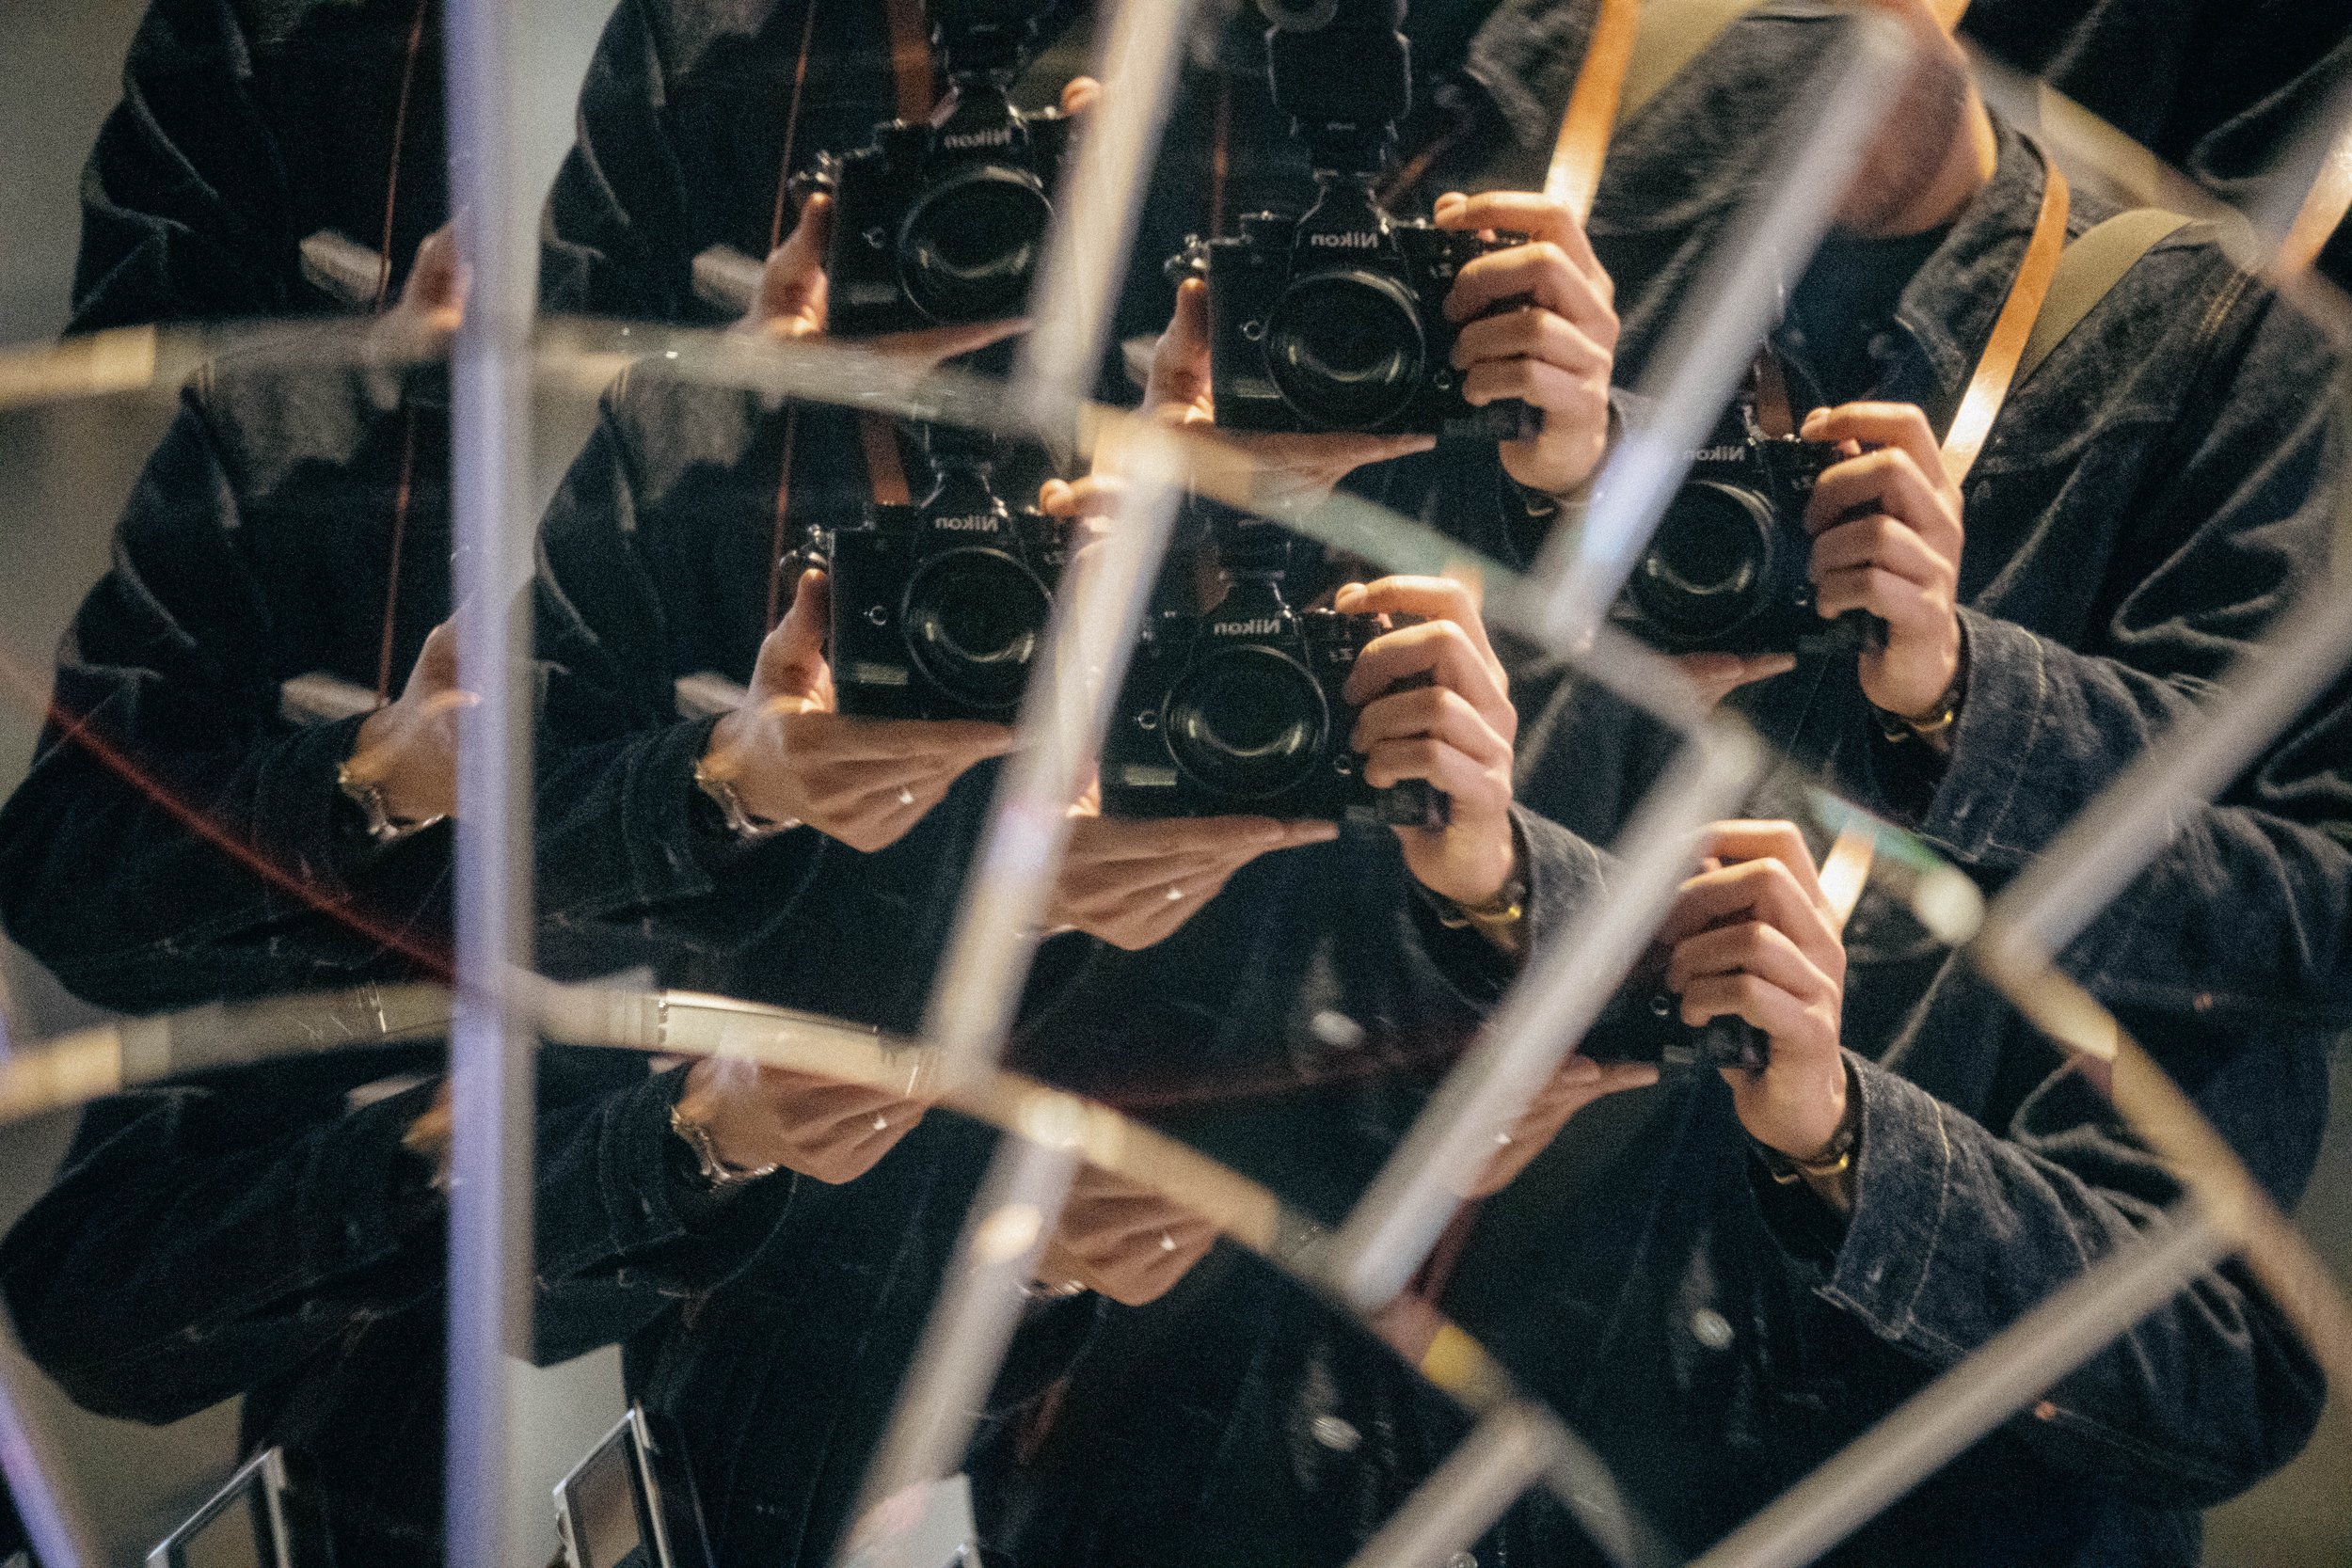
All my sample images in this blog post were edited from RAW files using my free Chrome emulation preset. They work with most RAW files from different cameras as long as you use “Adobe Color” as the starting base. Download it for free here.
If you’d like to support my work please consider purchasing gear through my affiliate links:
8bitdo micro: https://geni.us/8bitdomicro
TTArtisan 50mm f1.8 NEO: https://geni.us/ttartisan50mmneo
iPad mini: https://geni.us/iPad-mini7
iPad Pro 11": https://geni.us/iPad-pro-11
iPad Pro 13": https://geni.us/iPad-pro13
Nikon Zf: https://geni.us/YOH8bh7
Nikon ZR: https://geni.us/KH4uMvX
Wotancraft 10L Messenger bag: https://geni.us/wotancraft-salt-pepper
Wotancraft leather strap: https://geni.us/wotancraft-leather-st